Are you enchanted by the rustic beauty of burlap coffee bags?
This ottoman is inspired by a pouf we bought from a cute store selling imports from India. The owner explained to us that as the seasons change, people would stuff it with out-of-season clothing, blankets, etc.
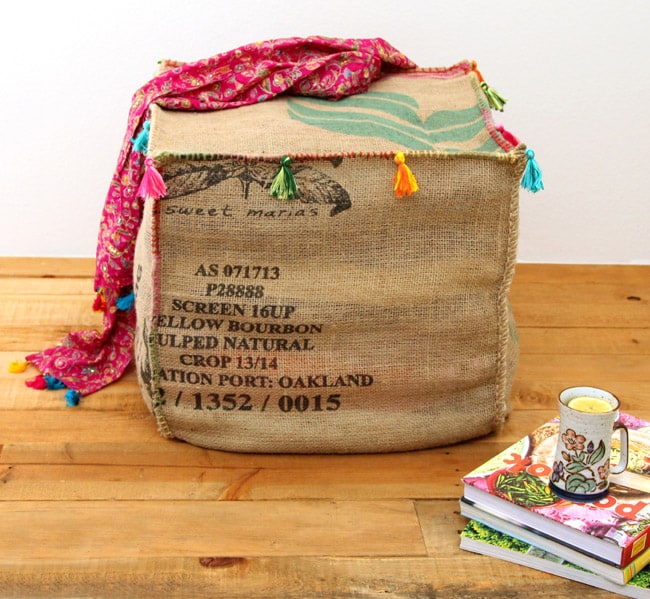
What an ingenious idea! It can be used as seating, side table, and storage all at once!
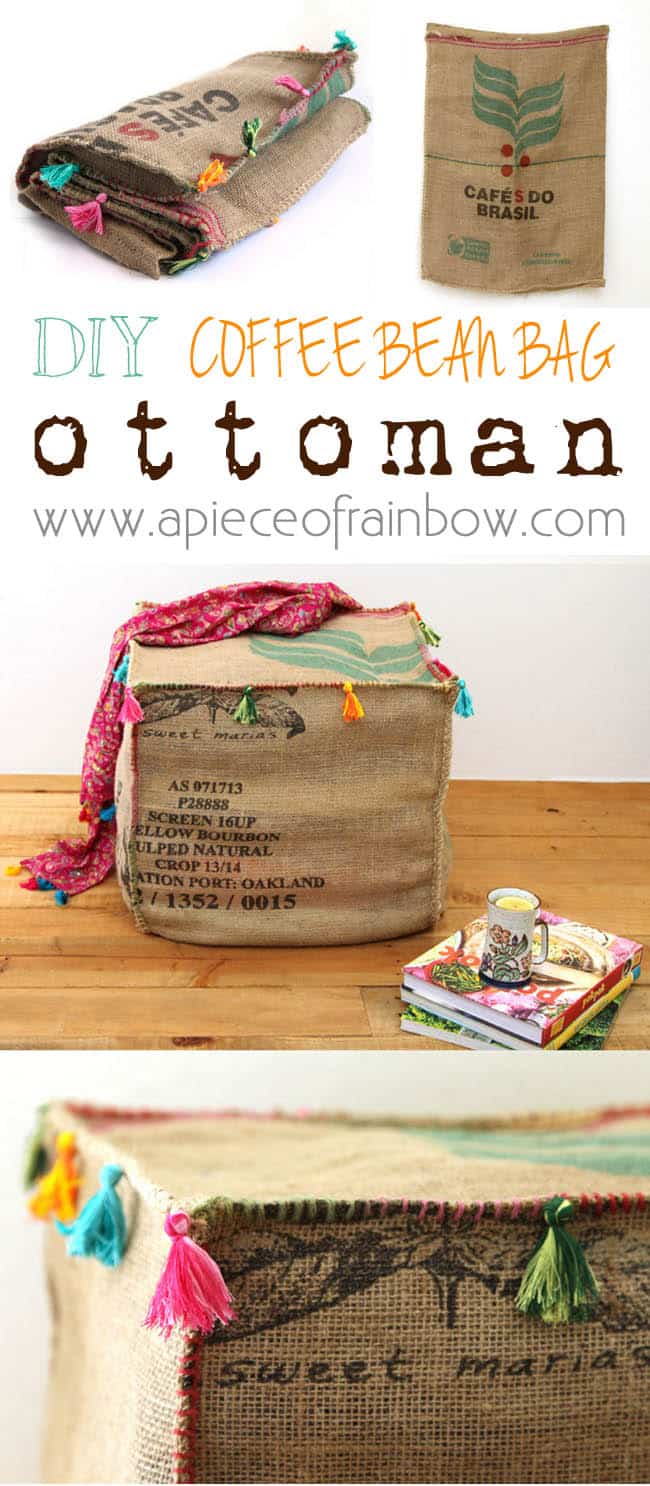
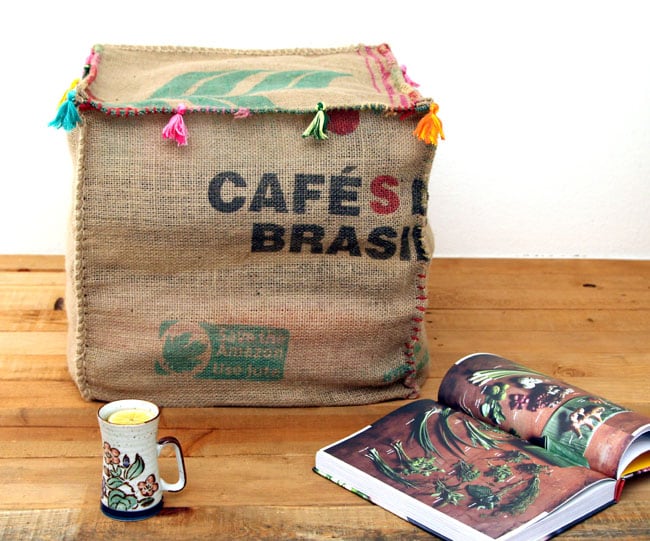
This up-cycled burlap coffee bag ottoman requires only one bag, minimal stitching (you know I can’t sew, right? ) and can be made in no time!
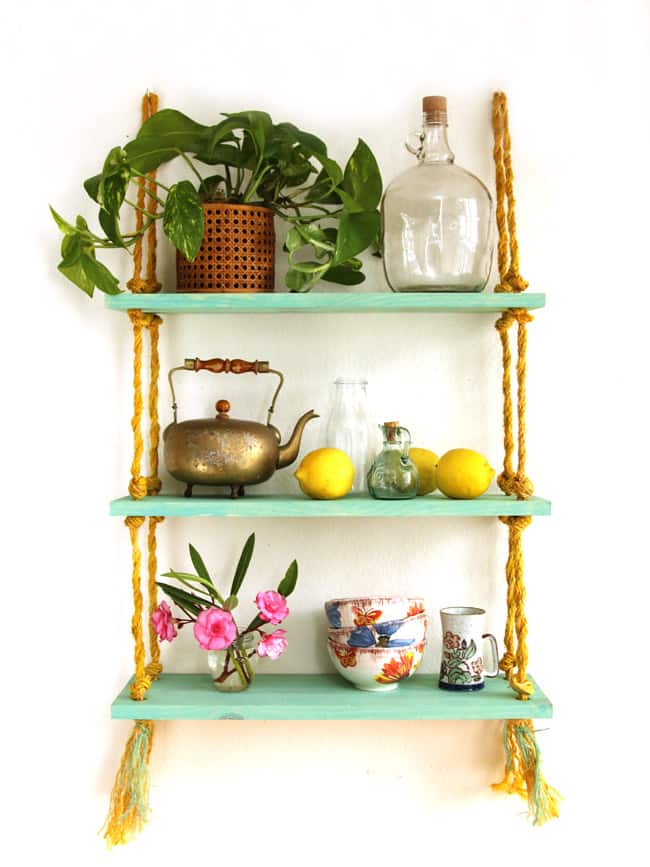
I must be in love with some kind of “Bohemian Nomads Style” lately! Remember this cute and easy DIY Rope Shelf? Well, our ottoman is kind of similar, it’s easy to pack, store, and it’s got pretty tassels too!

Materials and tools:
- one standard 28″ x 40″ Burlap Coffee Bean Bag. You can also get it at your local coffee roaster.
- Large-Eye Yarn Needle , and multicolored or solid colored yarn like these or Natural Hemp Twine
- optional: colorful embroidery threads to make tassels!
- scissors, and some kind of tape measure
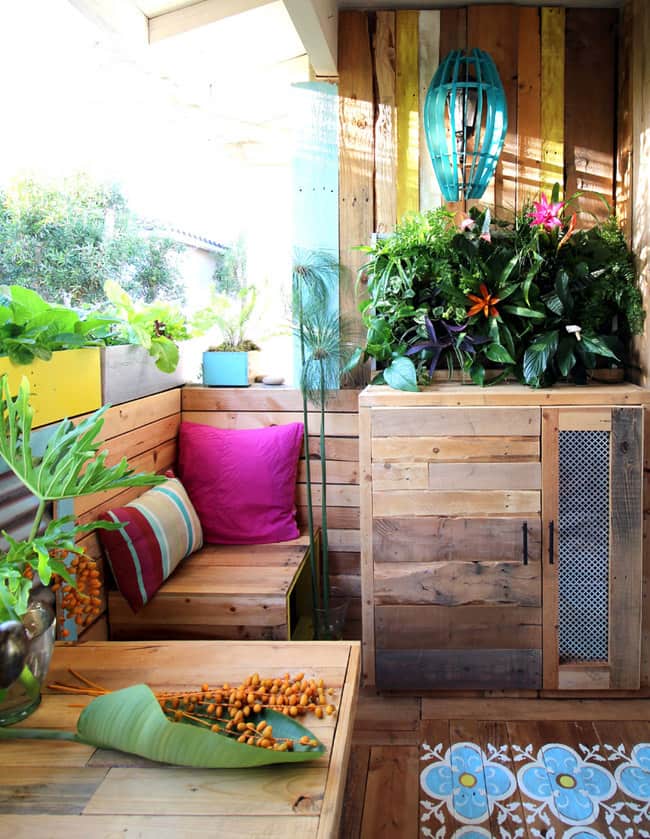
We first thought of making this coffee bag ottoman to use when we have guests on our outdoor patio, which we LOVE –
Our renters “remodel” of an outdoor room- everything is a DIY!
Step 1:
Remove the stitches from the bottom and the side of the bag. Now they open up to a sheet of 56″x40″.
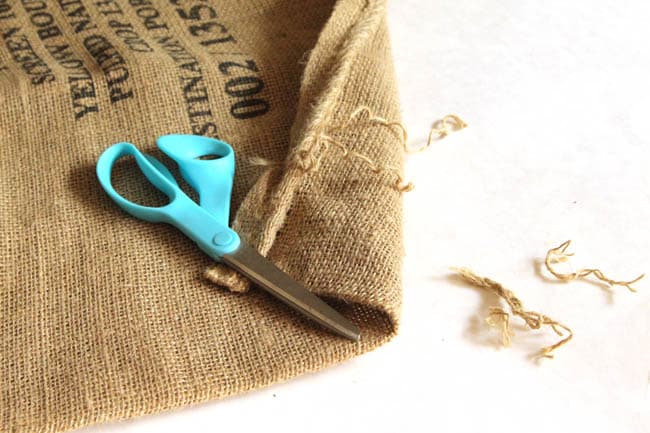
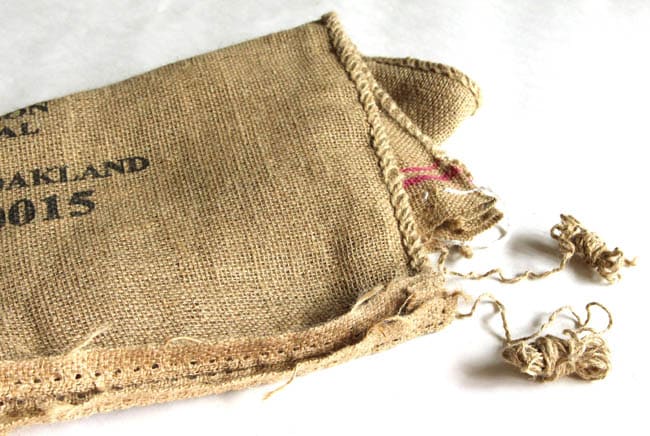
We can save the strings for some stitching later!
Step 2:
Cut the bag in half along the 40″ length and in equal 3 parts along the 56″ side
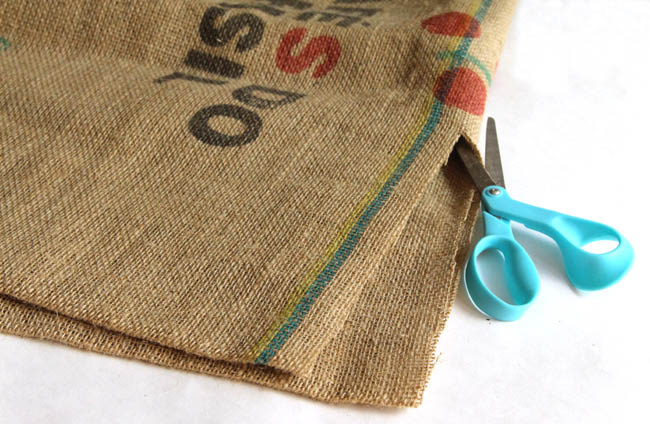
Now we have 6 pieces, each measures about 20″by 18.5″. Iron 4 of the 6 pieces into 17.5″ x 17.5″ squares by folding over the four edges.
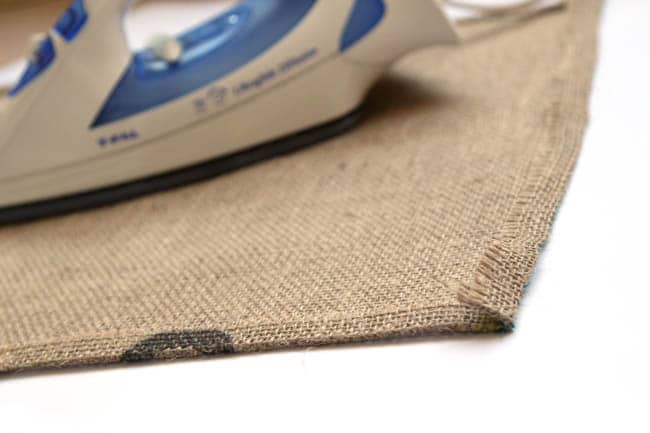
The other 2 pieces we will make them into 17.5″ x 19″. The extra length will be at the opening where we stuff the ottoman and fold over at the bottom. They also allow room for attaching Velcro if you prefer.
Step 3:
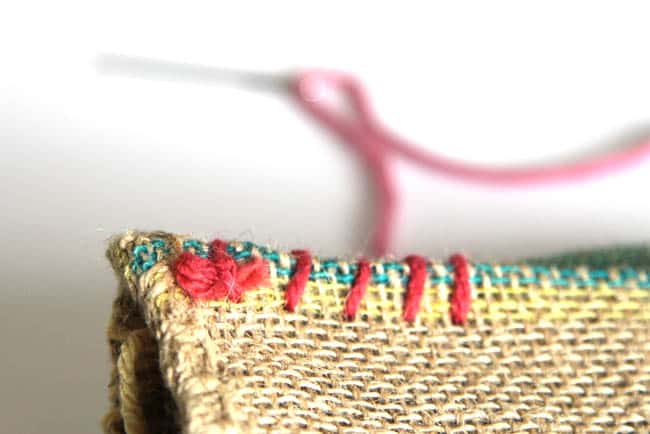
Stitch! Below are the steps to make the stitches. It did not take too long since this type of stitching goes quite fast! Of course, it’s super helpful sitting in a beautiful garden or on the beach while you do it!
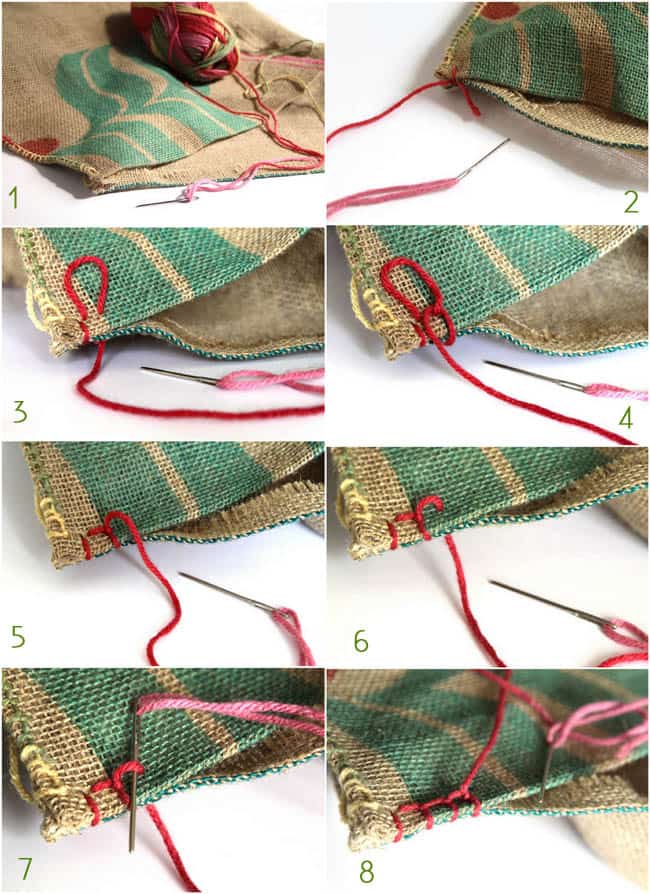
Below is what the stitch looks like on the back side.
If you used up the strings while stitching, you can easily add more strings by making a knot.
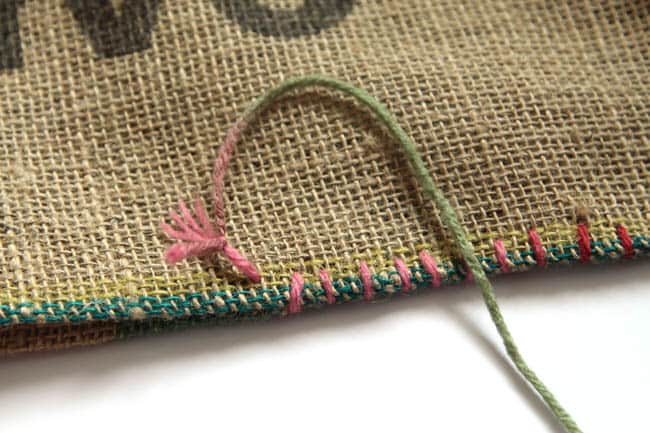
Stitch all sides except for the side where we left extra length. Leave it open for stuffing.
Step 4:
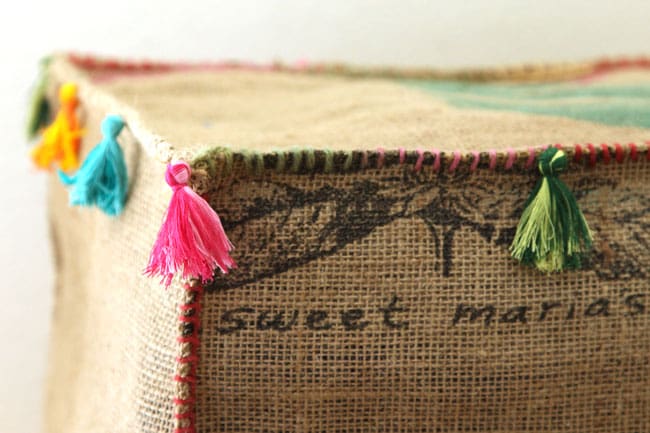
Never too many tassels, right? =) Thanks to my fabulous Mom who gave me a bunch of pretty threads!

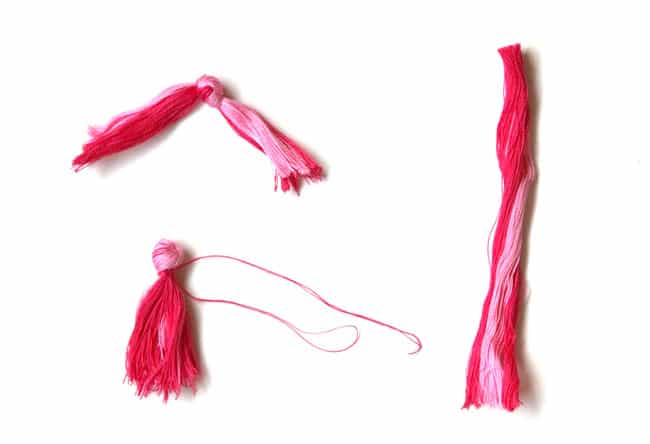
Cut the thread bundles (I combined 2 colors in each little bundle) to desired length, and tie a knot in the middle. Wrap and tie some threads at the base of the knot, and we are done! Isn’t it easy, and charming?
Step 5:
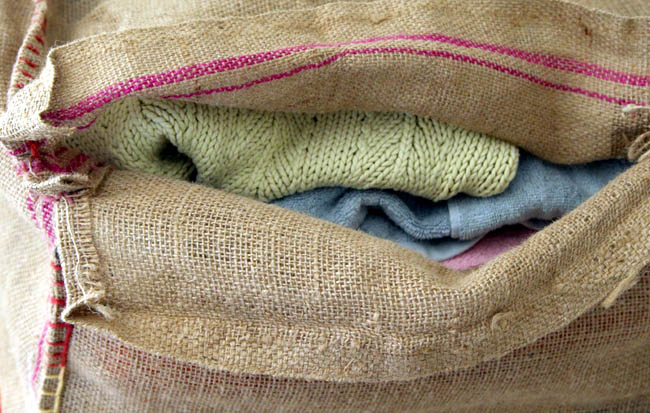
Stuff it with out-of-season clothing, blankets, etc. Remember in Step 2 we had 2 pieces with extra length: 17.5″ x 19″? This is where they would meet. You can add Velcro to close the opening, or use my lazy method of folding the extra burlap under the bottom of the stuffed ottoman.

The finished ottoman is about 17″ to 18″ high, perfect height for seating or as a side table.And it can be folded when not in use!

Happy daydreaming! xo
You May Also Love…
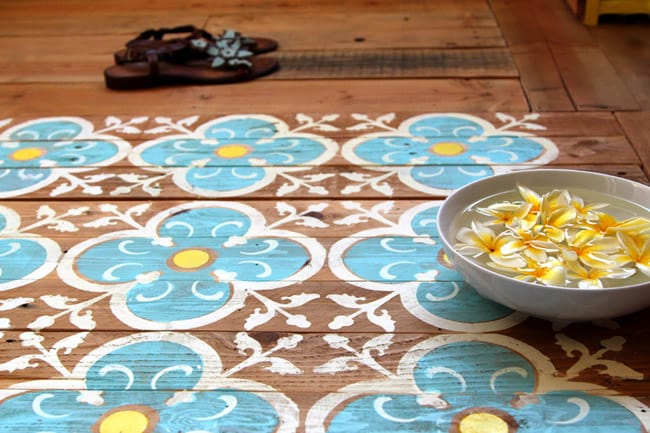
Stenciled pallet wood floor / door mat and how to make your own stencils!
Source: apieceofrainbow.com
