
“Oh why should I have spring fever, when it isn’t even spring… ”
Well, spring flowers aren’t quite here yet, but we can’t wait any longer!
Today I have 2 treats for you, one is on how to make the flower petals extra gorgeous with a little paint, the other, a super cool way to make flower stamens!Let’s start with those petals. You can make them any shape you like, or download and use these templates as guide. 
#3 or #5 will look nice for our poppies. [easyazon_link asin=”B001P9EKLA” locale=”US” new_window=”default” nofollow=”default” tag=”apieceofrainb-20″ add_to_cart=”default” cloaking=”default” localization=”default” popups=”default”]These Pastel Pink rolls of crepe paper works perfect for petals.[/easyazon_link] And the same vendor has [easyazon_link asin=”B005MAWIA8″ locale=”US” new_window=”default” nofollow=”default” tag=”apieceofrainb-20″ add_to_cart=”default” cloaking=”default” localization=”default” popups=”default”]Lime Green and dark green crepe paper that are great for the leaves.[/easyazon_link]


Dilute some deep pink water color or acrylic paint with water, and use a brush to dip in the paint then touch the base of a petal so the color cand be absorbed and bleed through part of the paper.
The speckled ones are created with the same tooth brush method used to paint this fall color tree! 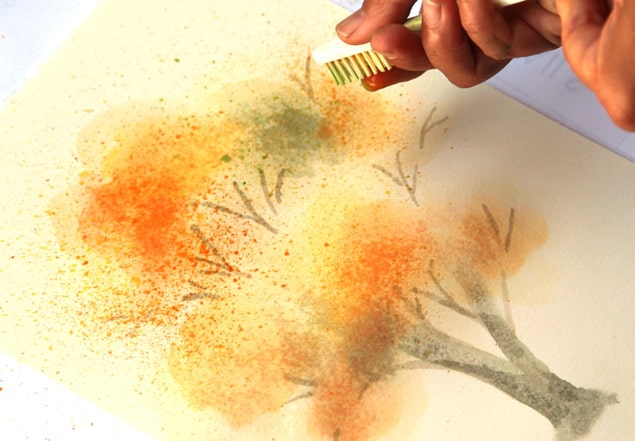
Next, the stamens! They can be purchased online if you search “paper flower stamens” but I stumbled upon a fun tutorial by Shasta (thank you Shasta!!), and can’t resist to try it out! It’s really easy, and you can make them any color/size you want!
Start with some old candles and color crayons, put about 3 part clear/white candle to 1 part crayon, put them in a muffin cup, I used a muffin tray here.


To melt the wax and crayon, put a pan on low heat with water, then set the metal or foil muffin cups on top. The crayon takes a lot longer to melt, so be patient.

Actually I did not wait for all the crayon to melt to start dipping the strings! Cut [easyazon_link asin=”B00DKA3DN8″ locale=”US” new_window=”default” nofollow=”default” tag=”apieceofrainb-20″ add_to_cart=”default” cloaking=”default” localization=”default” popups=”default”]8 ply cotton twine like this[/easyazon_link] into 1′ to 2′ long pieces, and dip each piece into the melted wax mix. When you pull the twine out it hardens very quickly.

Set each piece on wax or parchment paper. Cut to smaller pieces from 2″ to 4″ long, or any size you need.
Next dip the ends of each piece in the wax mixture 1-2 times. Set them to dry on a little dish like this-

To assemble a flower, have some [easyazon_link asin=”B0054G68D8″ locale=”US” new_window=”default” nofollow=”default” tag=”apieceofrainb-20″ add_to_cart=”default” cloaking=”default” localization=”default” popups=”default”]White Floral Tape [/easyazon_link] with [easyazon_link asin=”B0018N62LO” locale=”US” new_window=”default” nofollow=”default” tag=”apieceofrainb-20″ add_to_cart=”default” cloaking=”default” localization=”default” popups=”default”]cloth covered white wire, 18 Gauge works great[/easyazon_link]. You can also use [easyazon_link asin=”B001E5S0H0″ locale=”US” new_window=”default” nofollow=”default” tag=”apieceofrainb-20″ add_to_cart=”default” cloaking=”default” localization=”default” popups=”default”] 18 gauge green wire[/easyazon_link] with [easyazon_link asin=”B007RIJ2L6″ locale=”US” new_window=”default” nofollow=”default” tag=”apieceofrainb-20″ add_to_cart=”default” cloaking=”default” localization=”default” popups=”default”]green floral tape[/easyazon_link].

Make a center by creating a small tissue ball, gluing it around the end of a piece of floral wire, then wrapping some pink or yellow crepe paper around it and twist at the bottom.

Fold the stamen in half, and tape 3 of them at the base. Then, pinch the base of each petal and tape them to the stem with the floral tape. Do the same with each leaf.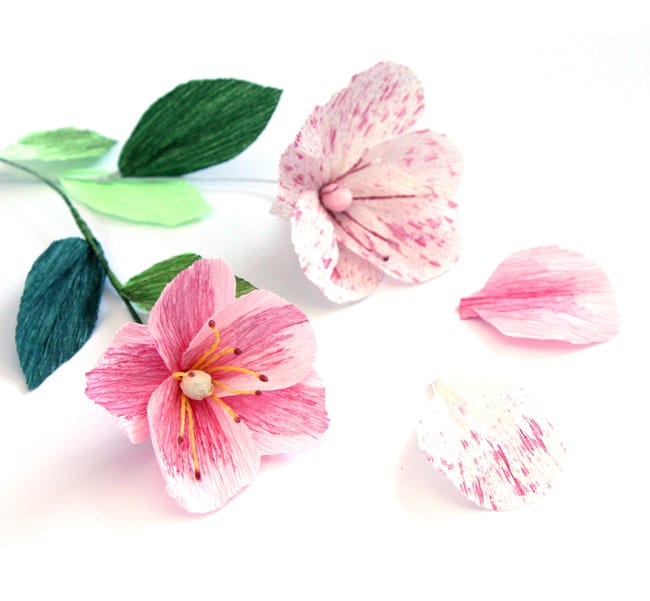
Finished! Spring comes early this year! =)
Can’t get enough flowers? Try these easy watercolor flowers – 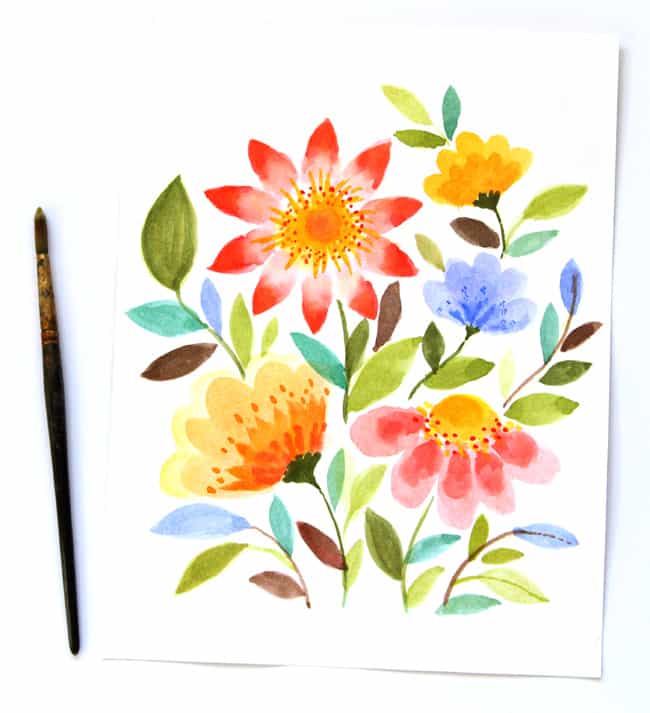
Or these really fun bubble paint Hydrangeas! 
Have a glorious day filled with flowers!! xo
Source: apieceofrainbow.com
