It is super fun and easy to transfer image to wood!
These beautiful wooden wall art pieces take less than one hour to make. They are very easy to assemble, because they do not require any frames.
![]()
This simple technique also works great to transfer letters, stamps, and other motifs.
Once you learn to transfer image to wood, you will be able to make all kinds of printed wood art, home decor or gifts for loved ones.
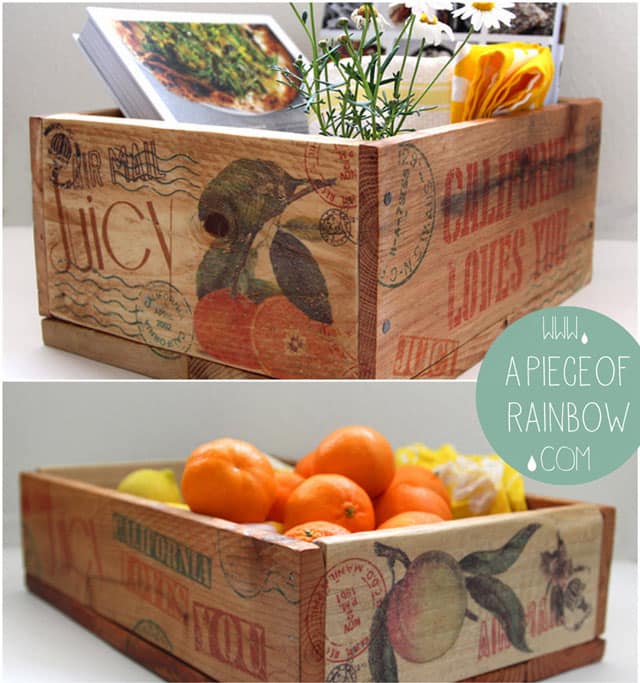
Remember these wooden crates inspired by vintage farm and orchard crates? I made them using the same method!
Materials and tools: ( Some of the helpful resources are affiliate links. Full disclosure here. )
- wood: any kind of wood with a smooth surface will work. I used 1″x8″ common pine board from Home depot. If you cut the wood, you will need saw and sand paper. Remember to wear eye goggles!
- wax paper , or other kinds of smooth and non-absorbent paper such as the glossy backing paper for labels or stickers
- a inkjet printer ( most home printers are inkjet)
- saw-tooth hangers like these for hanging, and some bees wax and olive oil for the luscious home-made furniture wax finish
Here’s a quick video tutorial –
Here’s an outline of the process. Check out the crate tutorial for more detailed photos plus my 3 failures when I first learned this technique.
![]()
Step 1: Cut wood and sand edges. For this project we cut 1″x8″ common pine board into 8″x8″ pieces.
![]()
Step 2: Print image on wax paper.
Fold and tape one end of the wax paper onto a piece of regular 8.5″x11″ paper, this will be the end that first go through the printer. Leave the rest of the paper loose. Print your image so the ink goes on the wax paper or the glossy side of the backing paper for labels or stickers . Be very careful not to touch the printed surface.
Check out the wood crate tutorial for more detailed photos for Step 2 & 3.
IMPORTANT: flip the images if it contain words – remember they are going to be transferred (mirrored)!
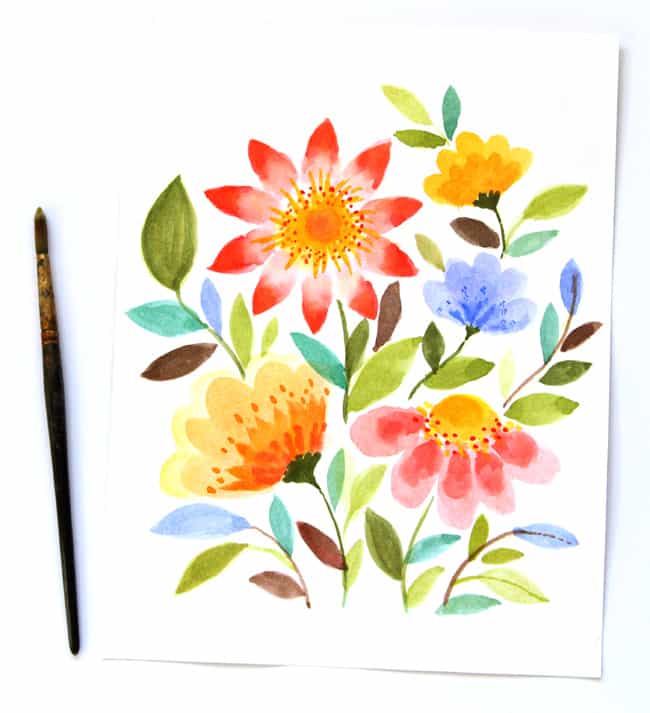
You could also create your own art and transfer it to wood. Here’s a tutorial on how to paint watercolor flowers easily with no art experience!
Step 3: Transfer image to wood.
Take a wet piece of dry sponge or rag, wet the surface of the wood you are about to print on, then use the dry sponge or rag to absorb the water a little. The goal is to get the wood to absorb the ink, but if the wood is too wet, the ink would be runny.
![]()
You can always test on a piece of wood to get a feel of how wet/dry the wood should be.
Place the design onto the wood surface, try not to shift it once the paper touches the wood.
Hold it down and use a soft sponge or rag to rub the wax paper like you would make a print, and you will be delighted to see how beautifully the image got transferred onto the wood!
![]()
You can even repeat this step and keep layering images until you are happy with the result.See how easy it is to transfer image to wood? I made four pieces in no time!
![]()
After the image transfer dries for at least a couple of hours, the final step is to protect the image with a nice furniture wax.
This step is optional, the added bonus is that the colors of the wood and images become richer and deeper once you apply the wax.
Check out the wood crate tutorial for the home-made furniture wax recipe.
A reader asked about making these as drink coasters and how to seal them. The wax finish is water resistant. You can also use a clear acrylic spray / sealer like these instead of the wax.
Let sit for 24 hours, and you are ready to use them or give them as gifts!
![]()
![]()
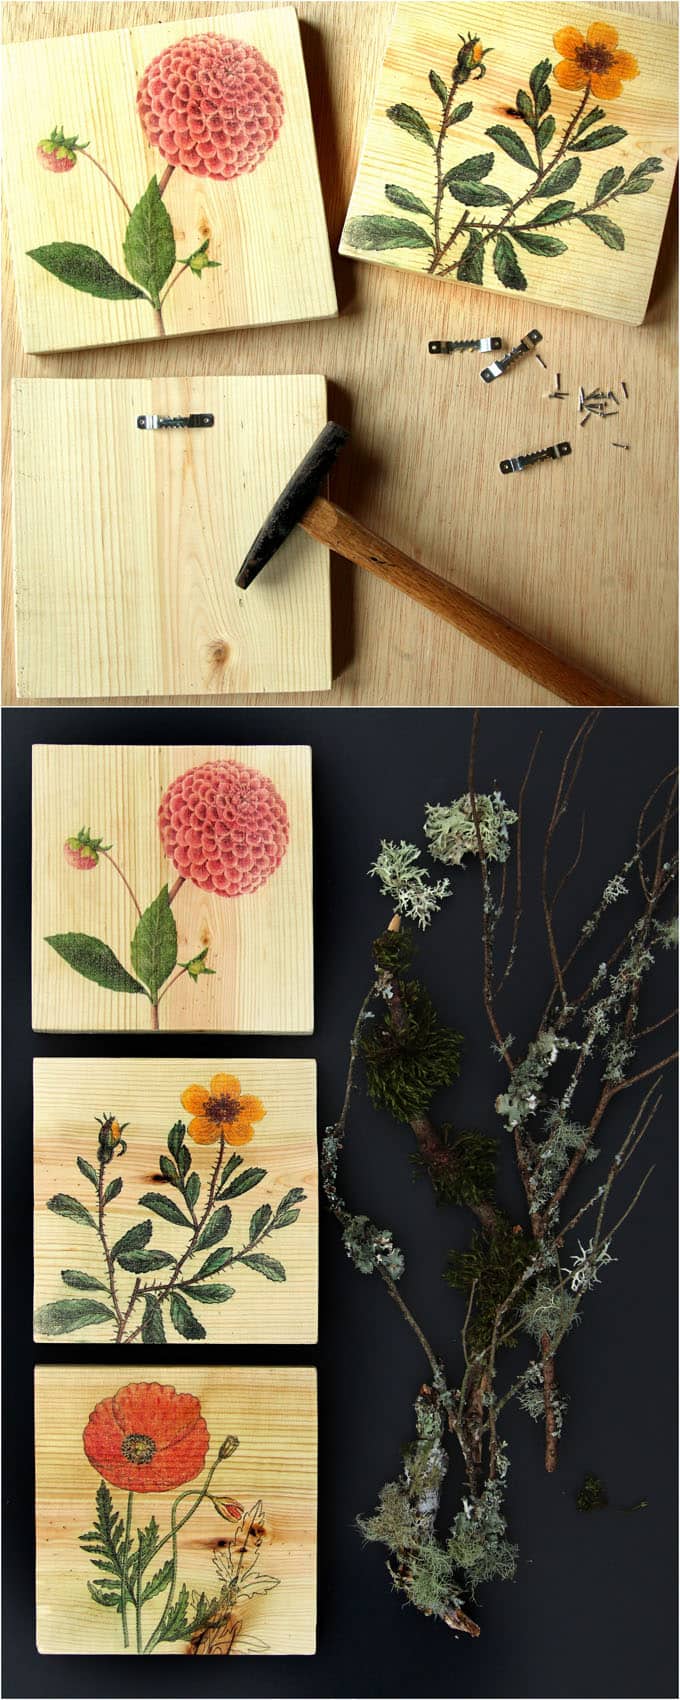
Add saw-tooth hangers like these for hanging.
Now you have some unique wall art : botanical prints combined with the natural beauty of wood!
![]()
The gorgeous illustrations are from the fabulous Graphics Fairy . I also have some botanical art from this DIY 2-minute candle holder project for you to download for free .
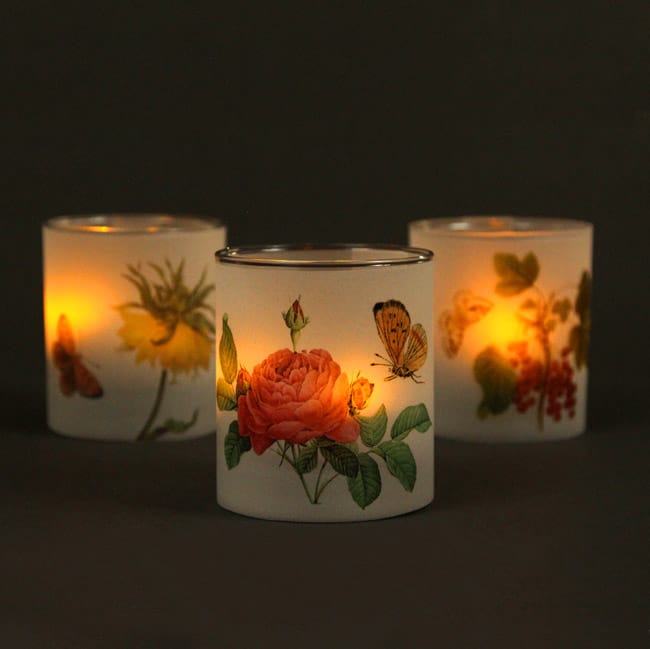
DIY 2-minute candle holders & free printable botanical illustrations.
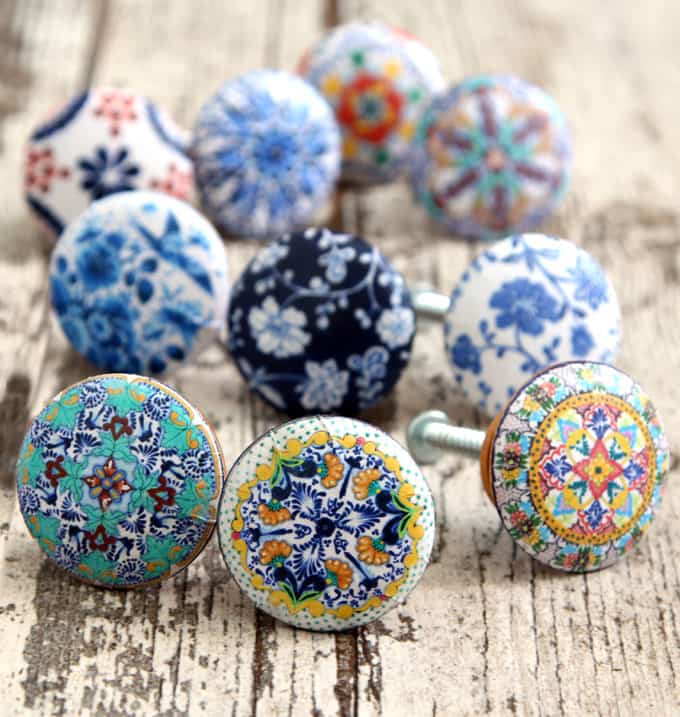
You may also like : 5- minute DIY Anthropologie style cabinet knobs
Happy creating! See you next week!
Source: apieceofrainbow.com
