 Happy 2015!!! To start this wonderful year off, I want to share with you a very special project – a surprise birthday gift I made for my dear hubby Jeff!
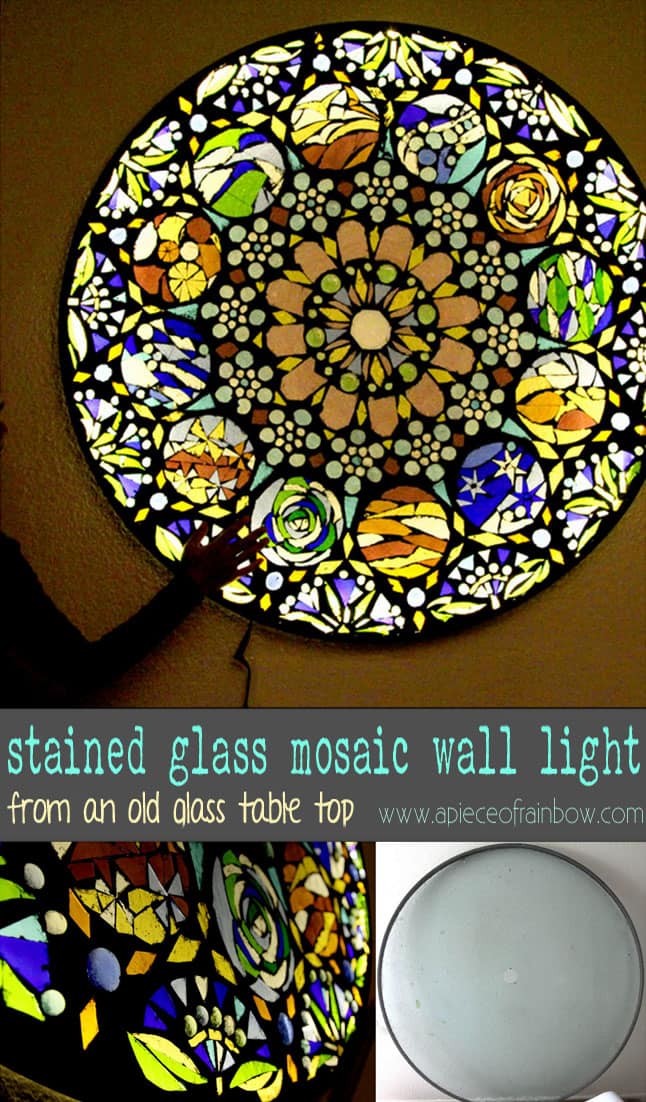
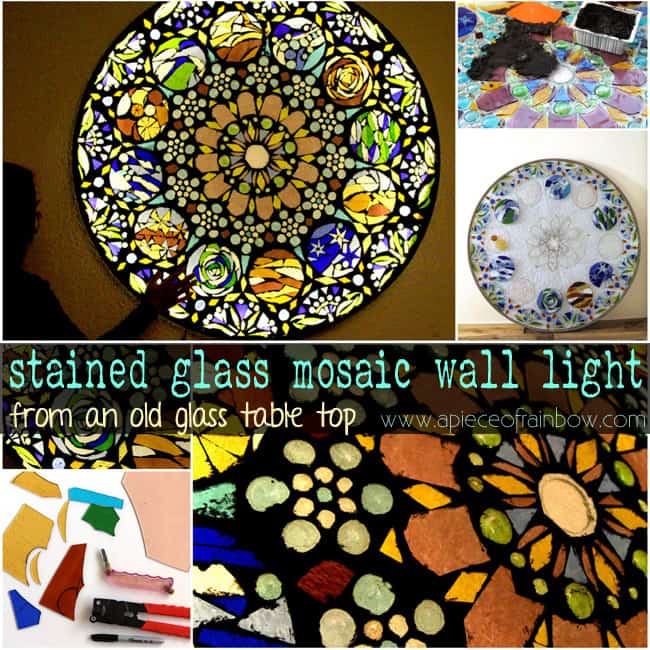
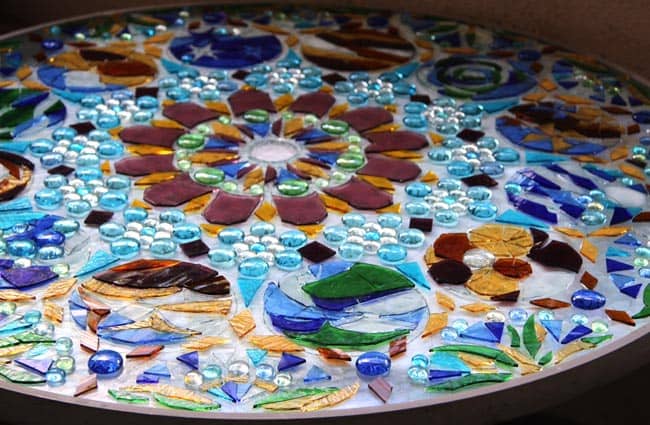
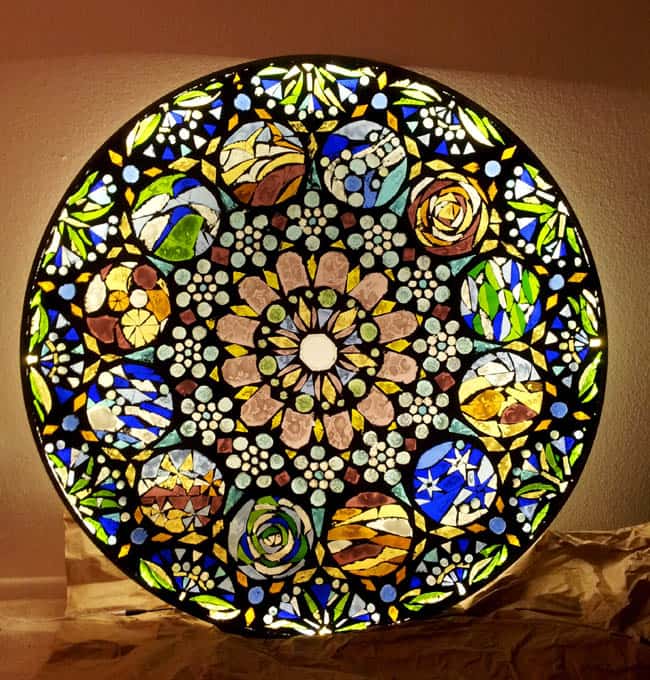
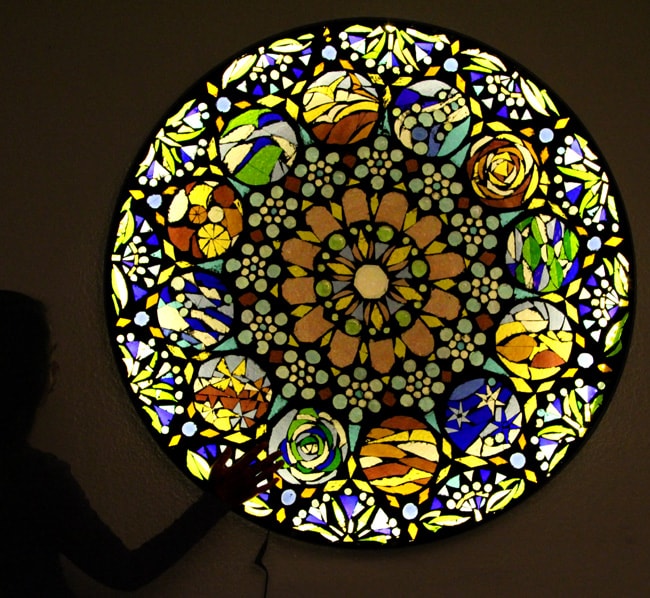
There are some things money can’t buy, such as love, or the south rose window of Notre Dame. This stained glass mosaic is inspired by love, and that glorious rose window.
I have long dreamed of making something with stained glass for our home , but was intimidated to try this new medium. When Jeff told me he had to take 2 trips the month before his birthday, I saw a perfect golden opportunity: a gorgeous SURPRISE gift as motivation(can still buy one if I fail), and days of not having to hide my work in progress!
Take a deep breath – “Do or do not, there is no try!”
And NO you don’t have to start your first stained glass mosaic DIY with a huge 42″ table top! It is truly fun and rewarding. Check out the process in detail, so you can start with even a simple piece, it will be so pretty!!
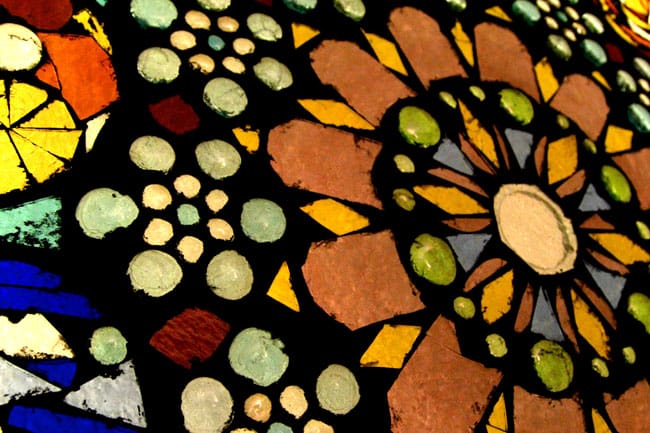
The magical geometry of a rose window:
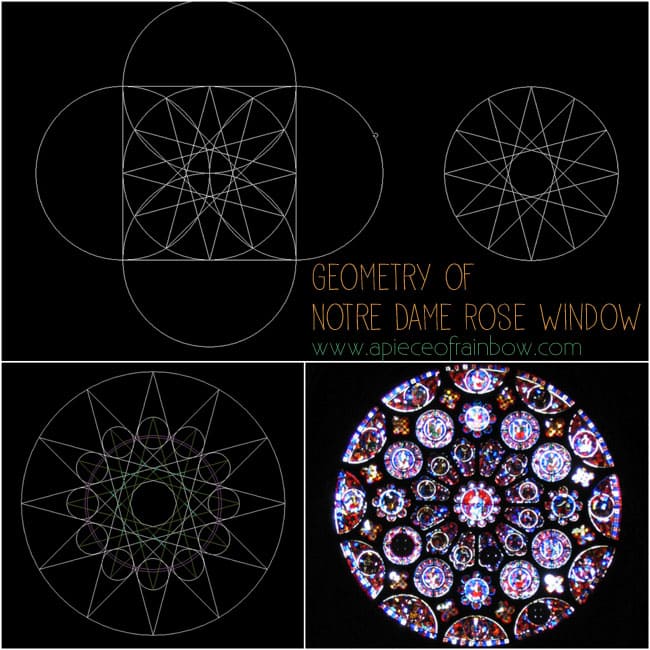
An entire book can be written on the geometry of a rose window. There’s such elegance and beauty in the process. It’s a study of how the “many” are created from the “One”.
In this rose window, the underlying geometry is a 12 pointed star, generated from simple forms of square and circles.
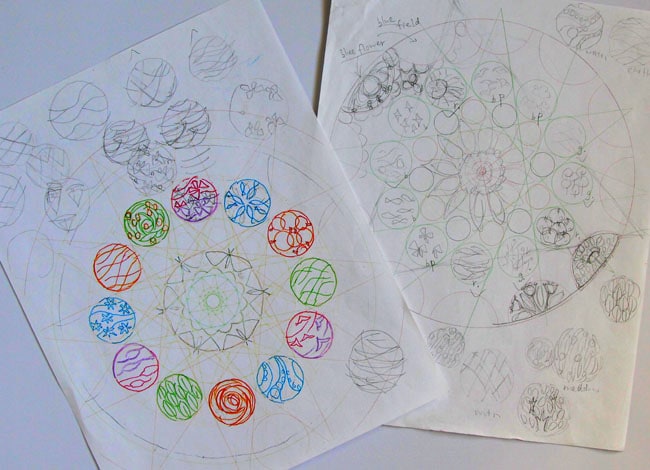
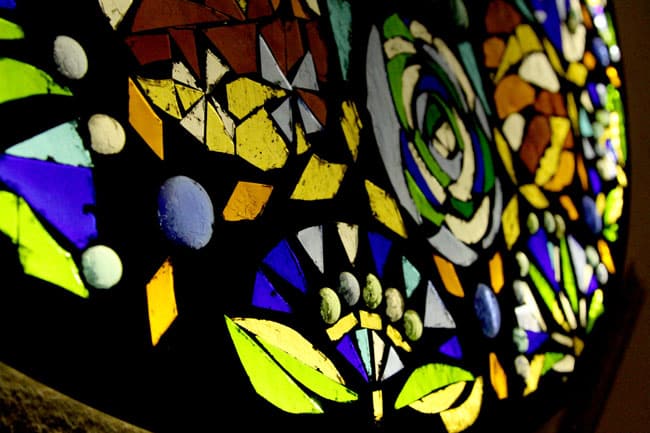
I adapted the geometry, and incorporated images of those simple and sweet moments in our life together, such as hiking in mountains and forests, watching sunset by the ocean, growing a garden, picking fruits at orchards, etc.
The design process also helps me to decide on the colors, so I don’t walk around like a lost soul in a stained glass store!
Materials and tools:
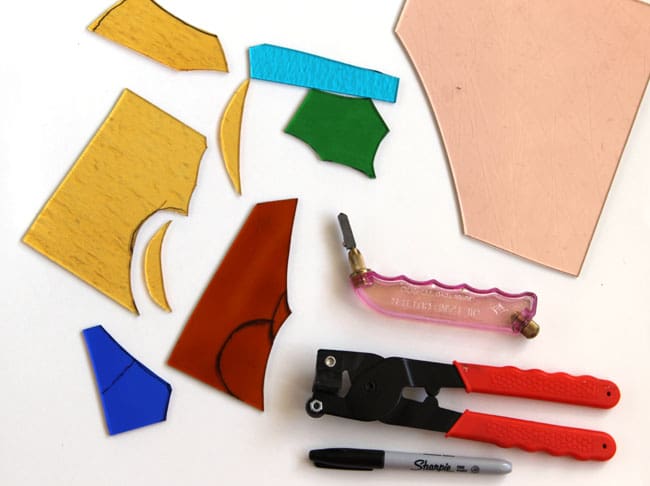
Stained glass mosaic requires fewer tools and materials than stained glass. But MOST important are these 3 safety tips-goggles, gloves, and don’t rub your eyes!!!
- eye goggles: glass shards can fly around when you are cutting, so DO NOT BEGIN UNLESS YOU ARE WEARING GOGGLES!!
- gloves: any gloves that fit snugly. They serve 2 purposes: 1. Protect our hands. 2. Our hands can get tiny bits of glass, we are much less likely to rub our eyes by habit with gloves + goggles on!
- stained glass and glass wafers: find a local shop so you can see the colors in person. Sometime they will have scraps for a really good deal. Glass wafers are available online and in florist supply stores.
- Weldbond Adhesive. It’s non toxic, dries clear, and works great for glass on glass!
- cutter: I started with a $5 Red Devil DIY Glass Cutter, since it’s my first glass project, and i was not sure if I would use it a lot. After the first day, I realized how fun it was, and how FAR FAR behind I was, I ran out and got a Toyo Pistol Grip Glass Cutter The first one cuts fine, especially with more practice, but the Toyo one cuts like… BUTTER
- Tile and Glass Cutting Pliers . Once you score a cut line, it breaks the glass very easily.
- base: here we have an old glass table top, but any glass object you want to mosaic would work, as long as the surface is smooth. For curved surfaces, the stained glass pieces will need to be smaller.
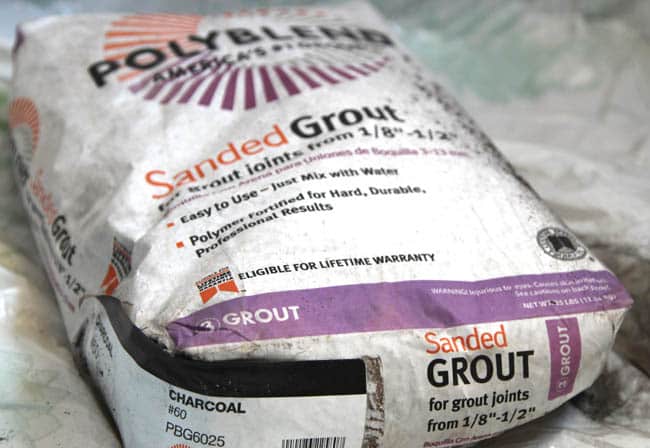
- grout: please remember to use sanded grout! Black contrasts nicely with the colored glass. And plastic containers, rubber gloves, rags, for mixing and applying grout.
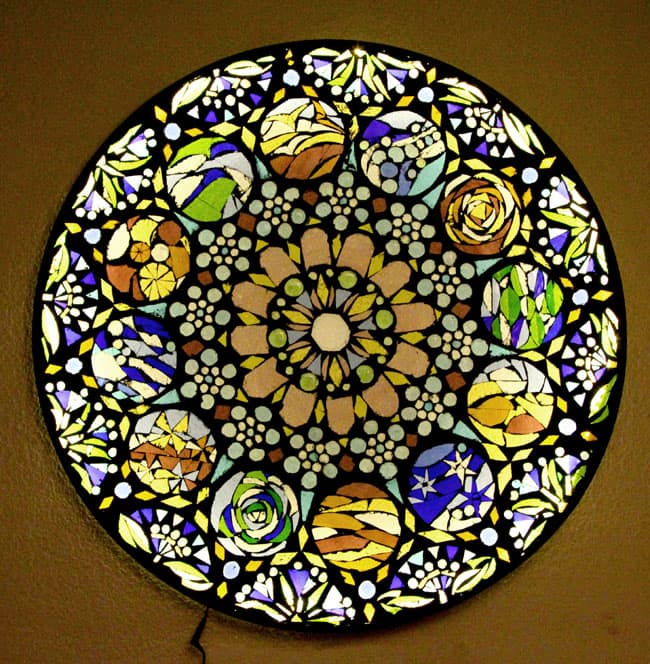
- To back light this I used Warm White LED Light Strip
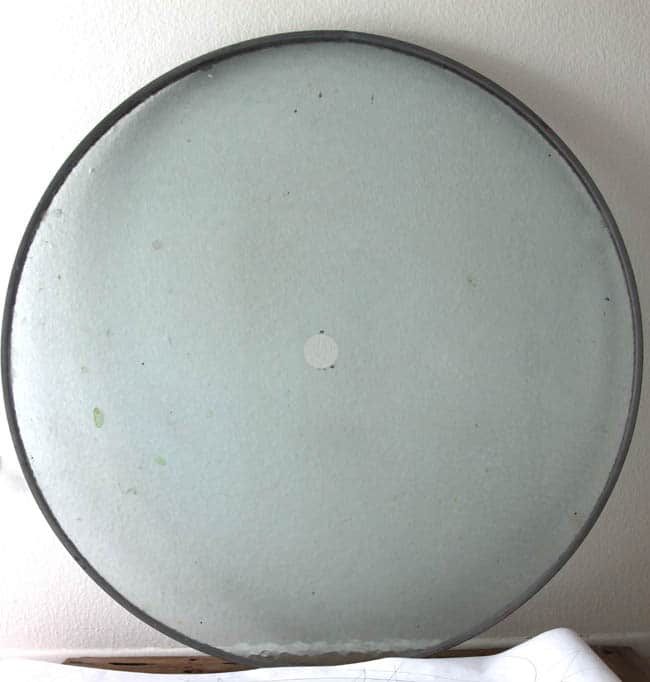
We used to have a glass table that isn’t super gorgeous, so the base went to metal scrap yard when we moved, and I kept the glass top. It has a metal ring around it, perfect for this project!
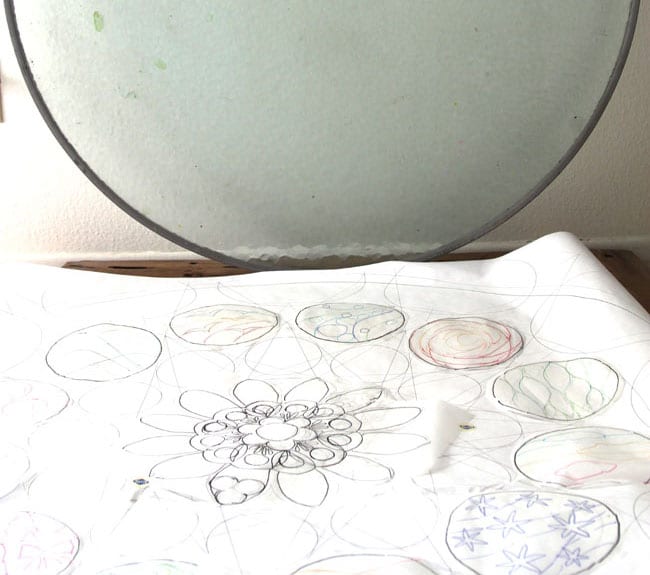
I printed a 1:1 scale drawing at a blueprint store, and taped it to the back of the table as a guide. Now it’s time to cut and glue!
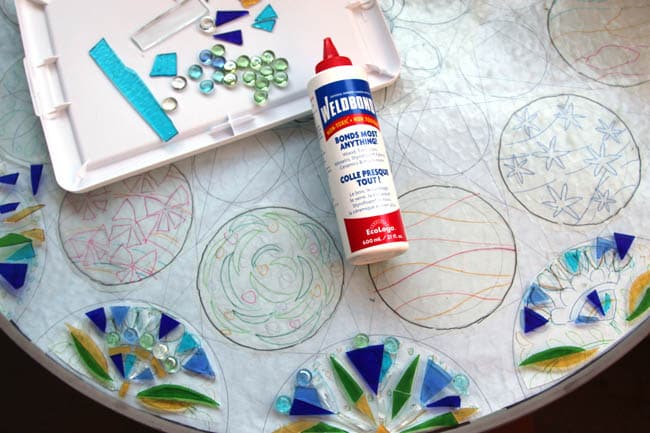
The process is simple: draw a shape you need on the glass with a maker, score the cut line with a glass cutter, then break the piece off with the pliers. Straight lines are the easiest. Curved lines may need to be done in steps with more gradual curve in each step. Apply a little glue on the piece and press it onto the base glass surface.
Remember- goggles, gloves, and don’t rub your eyes!!! I worked outside so it’s easy to sweep up the glass shards.
I thought 30 hours are plenty, but this 42″ table top took me about 60 hours to finish! When Jeff got back from his first trip, I hid this big thing at the back of my closet, and started working full speed again as soon as he left for the second trip! Lessons learned: always double the time you think you need!
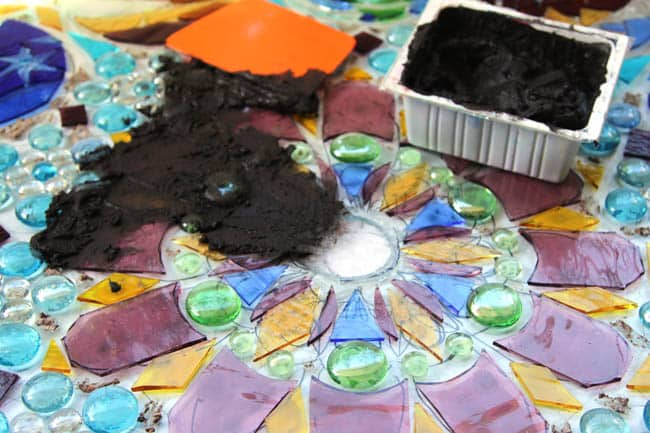
When all the pieces are glued in place, mix up the grout per specs on the bag, and apply it. Mix a small batch at a time. I used a dough scraper and rags to help packing the grout into the gaps between the pieces. Wear gloves!!!
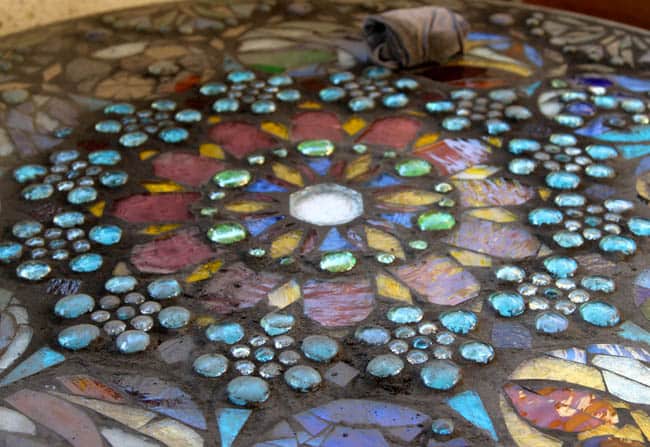
After the grout dries a bit, like 30 minutes on a cool day, 15 minutes in hot sun, wipe off the excess grout with a DRY rag. A wet rug may loosen the grout and cause it to fall out.

There will be a thin film of grout on the surface of the glass. No worries. Wait a few more hours and clean it a few times with a damp rag.
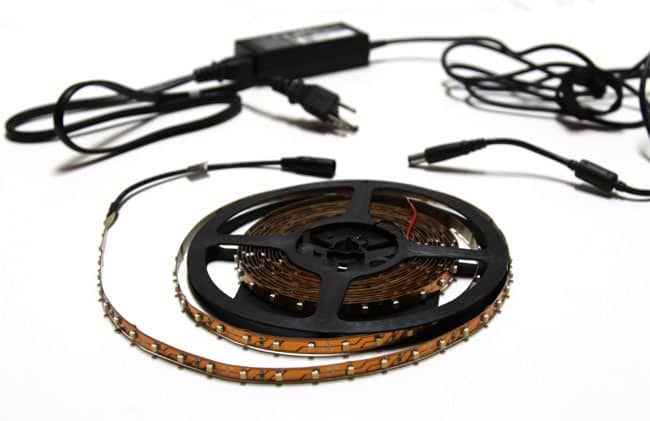
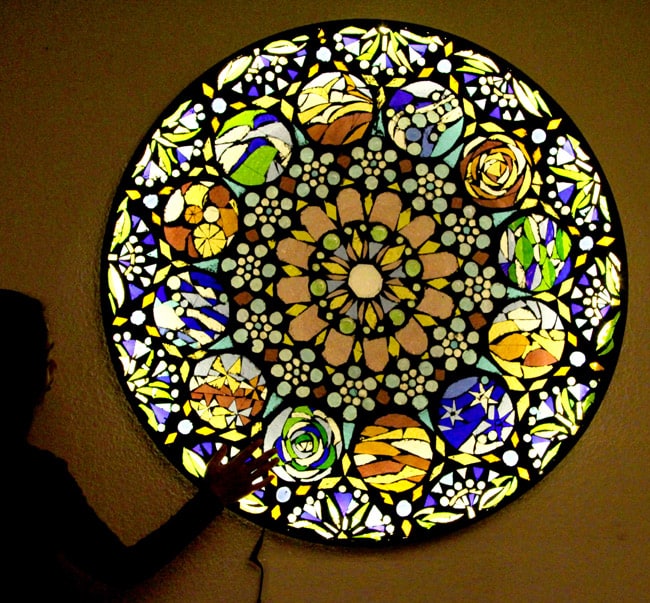
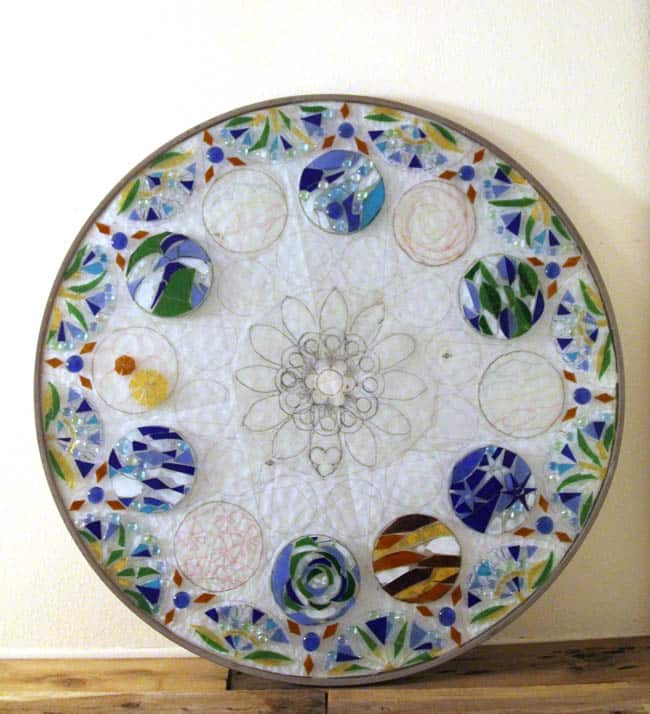
To back light this I used Warm White LED Light Strip. The light strip adheres to the inside of the metal rim around the glass, add power and test it, super easy!
BTW, the glue will continue to dry and becomes totally clear over a few months!
BTW, I finished it and rolled this 75lb surprise into the closet 10 minutes before Jeff got home! Whew!
Of course he LOVED it, but there’s more work to do, for Jeff – “Honey, I don’t deal with gravity, you will hang this up, would you? xoxo”
With Quakehold Picture Hook secured into studs, and metal wire and hangers attached to the frame of the glass with J-B Weld Epoxy , it’s up! YAY!
Here are 3 important tips if you would like to make stained glass mosaic-
- Safety first- always wear goggles, gloves, and don’t rub your eyes while cutting glass!!!
- Work in an area that’s easy to clean up the glass shards
- Use sanded grout. The pieces of cut glass are the “aggregates” that hold the grout in place. Therefore, don’t leave large gaps (over 1″) as the grout could fall out.
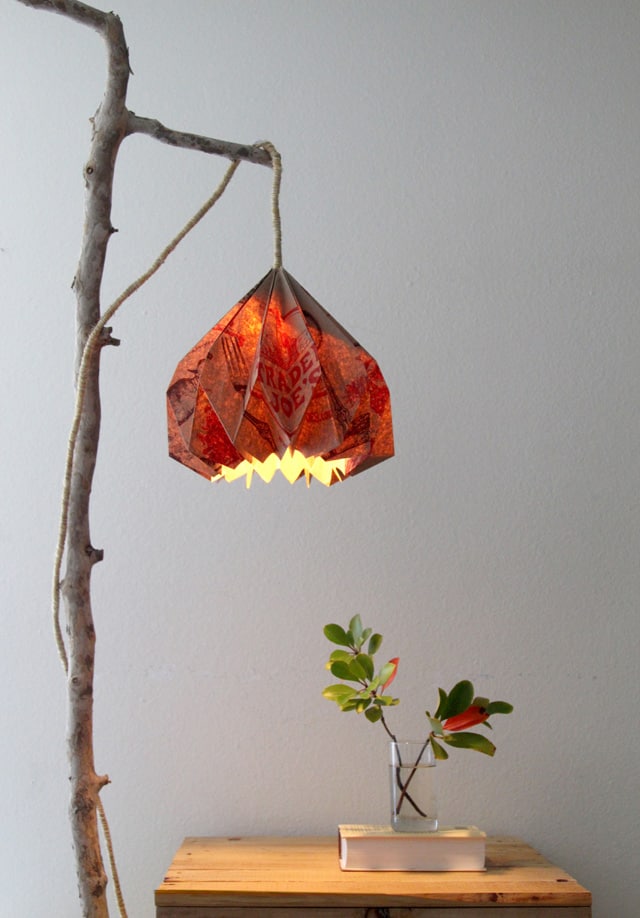
If you love the magic of light and the idea of re-purposing, check out these ideas on reusing old glass, or this pendant lamp made with … grocery bag!

Wish everyone a wonderful 2015!! Happy creating!!
Source: apieceofrainbow.com
