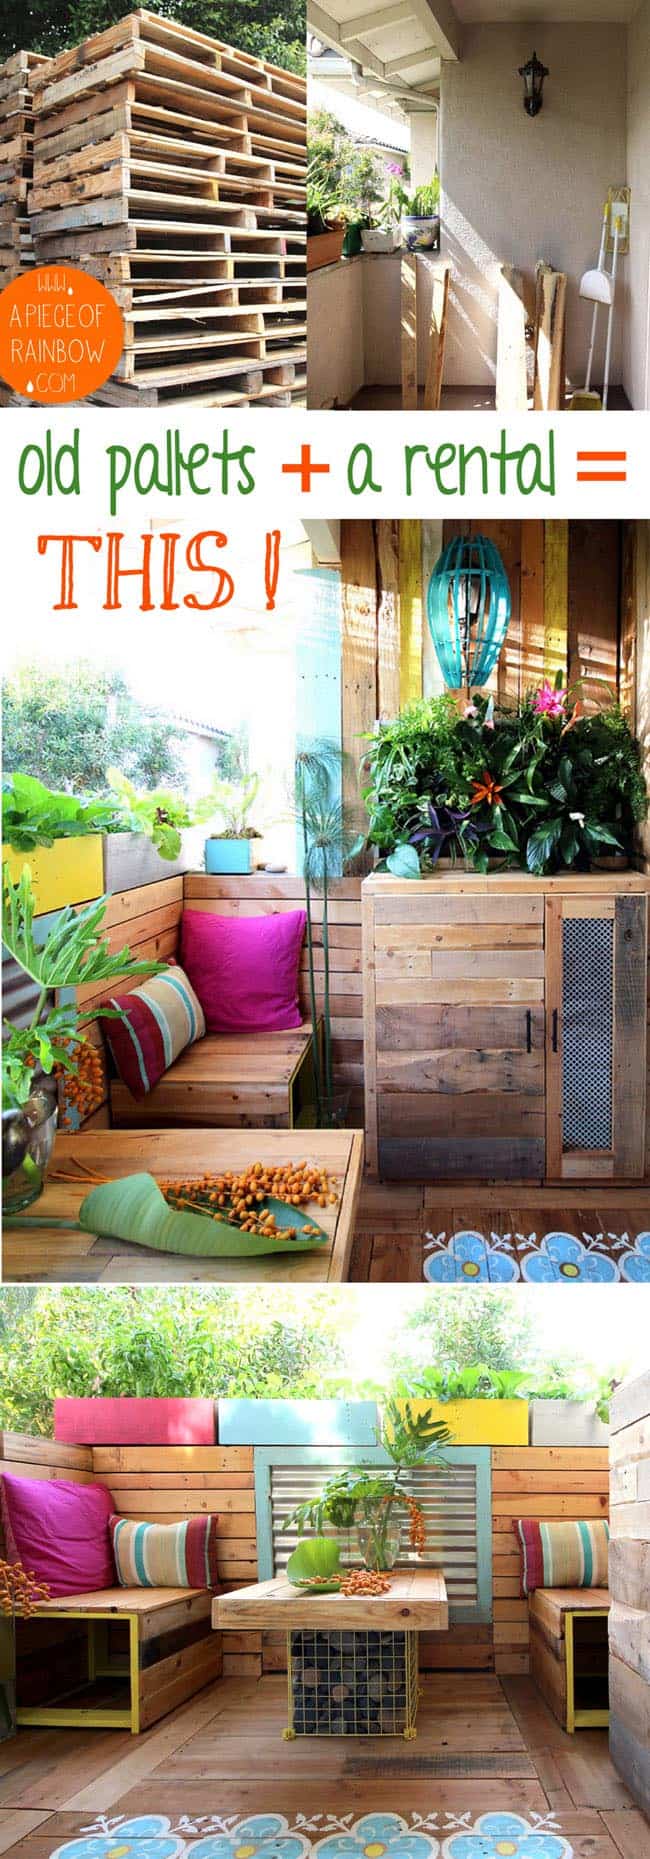
If you have seen our pallet patio remodel here, you know I heart all things pallets. So when I saw this stunning pallet kitchen remodel, I just have to track down the builder half way around the earth, and bring you all the juicy details on it! Along our tour, I will also share 5 design and DIY tips on working with pallets and building pallet furniture.

If you are wondering where to find pallets, how to select safe and quality pallets for your projects, or the best ways to take apart pallets, here’s a detailed article all about pallets!
The talented builder of this pallet kitchen remodel, Edis Sejdinovic , lives in the beautiful historic town of Labin, Croatia. Look at it, got to add it to our travel list! And here’s his facebook page where you can see his latest creations.

Edis generously shared with me detail of this kitchen and his building process, ready for the tour?
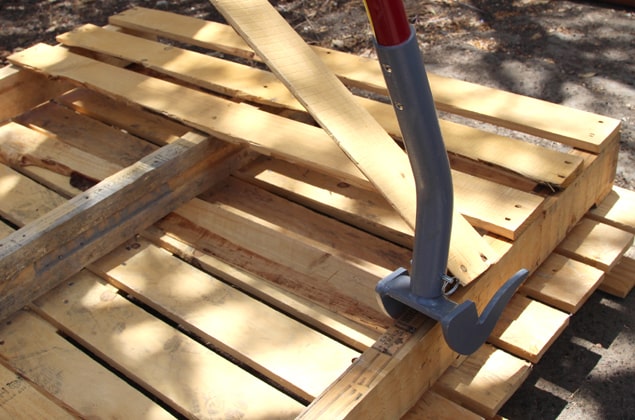
The first step is to apart all those pallets, remove the nails from each slat so they can be used as raw materials to build panels.
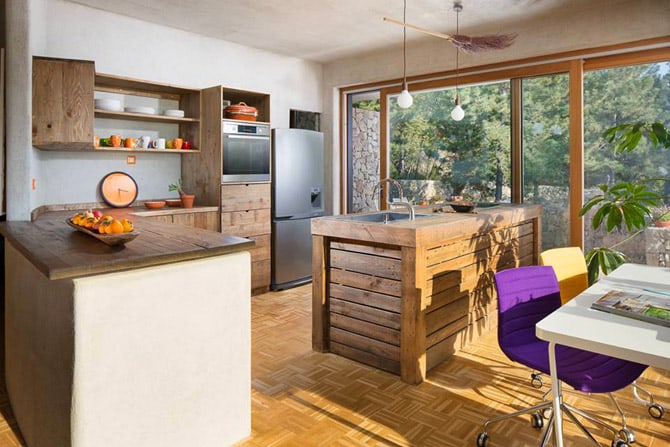
Image Credit: Level 52
Tip #1: here’s our favorite tool called a deck wrecker , which can take apart pallets quickly and easily.
The slats are made into panels for the doors and drawer face, then cut to size and sanded. Edis uses 120 grit sand paper first, which is a good all purpose sandpaper. Then he uses a finer 240 grit sandpaper ( it’s easier to find 300 grit sandpaper in the US, which is similar ) to give the wood surface a very smooth finish.
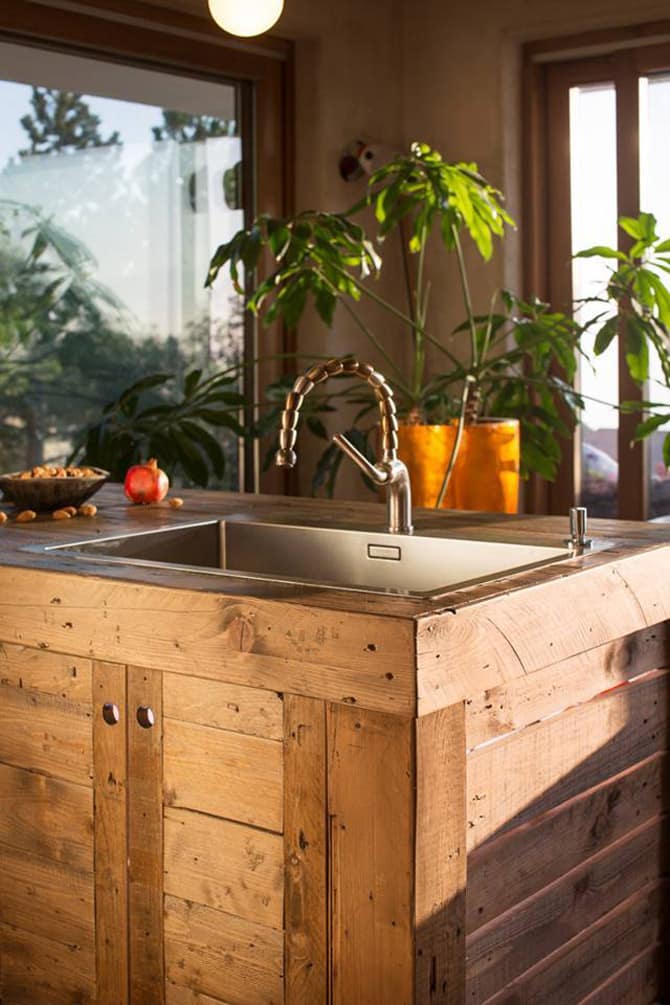
Image Credit: Level 52
Tip #2: Pallet wood has such unique beauty that is so different from new wood we buy at the hardware stores. Yet they will cause splinters if not sanded. The key is to sand just enough, so the wood is smooth, but the character is preserved.

Image Credit: Level 52
After sanding, the surface is coated with a non-toxic water-based sealer, and lightly sanded again with the fine grit sandpaper.
The reason is that water raises the grain of the wood, and the surface need to be very gently sanded without removing too much of the sealer coating.
Wipe the surface clean and apply 2 to 3 layers of non-toxic furniture wax made from bees wax.
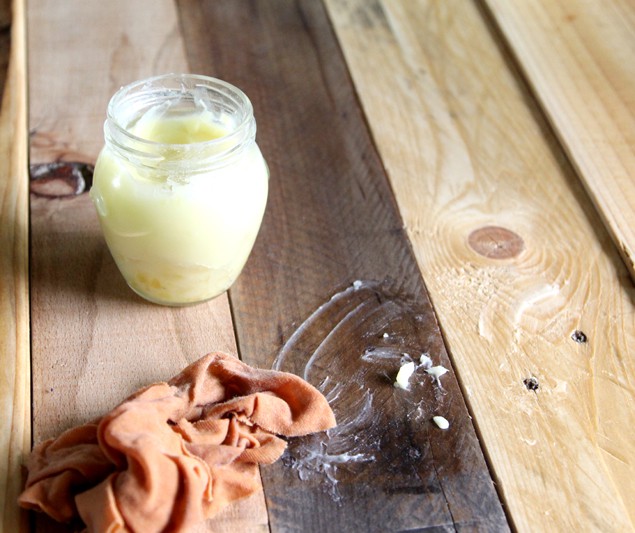
Tip #3: Here’s a great recipe on how to make your own non-toxic furniture wax from bees wax and olive oil, which we first used on our wooden crates. I got it from a maker of children’s wooden toys. Some readers have asked if olive oil would turn rancid. We can happily report that after 2 years the wax still smells amazing like honey! Bees wax is a wonderful natural preservative. We just love this home-made furniture wax!!

Image Credit: Level 52
Image Credit: Level 52
There are so many great design details in this kitchen, such as the simple yet functional open shelving, and pallet wood covered dish washer!
Tip #4: An open shelf is much easier to build than a cabinet, and easy to incorporate in a kitchen remodel. It not only provides storage, but also adds visual interest to a blank wall. Use it to display your favorite dishes and collectibles!

Image Credit: Level 52
Tip#5: Look for simple and creative solutions. Who said a door must have a door knob? In the image above, the hole on each door is an ingenious solution. It looks super elegant and chic too!

Image Credit: Level 52
A drawer does not have to have a drawer pull either!
I am so inspired by this gorgeous kitchen remodel that I design a simplified version of a pallet kitchen island / bar! I will share the building plan here with you in 1 or 2 weeks.
Big thank you to Edis again(who is building 3 more pallet kitchens yay!) for sharing the project and to Level 52 for the photos!
Can’t get enough pallets? Here’s our pallet patio remodel, and yes we are renters!
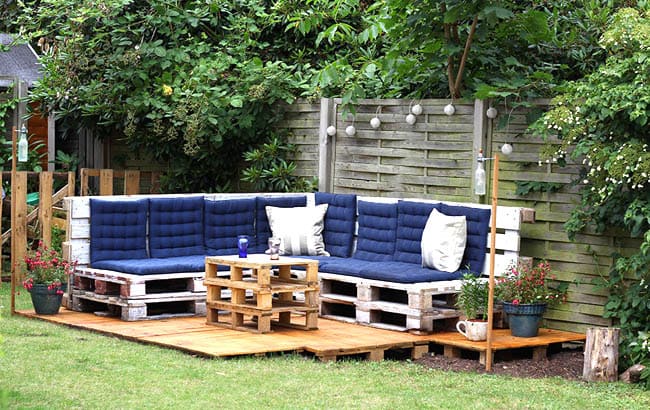
Or these 30+ pallet outdoor living projects!
Happy pallet busting! xo
Source: apieceofrainbow.com
