Have you wondered how to make a DIY Sharpie mug without baking, and how to make sharpie stay on a mug?
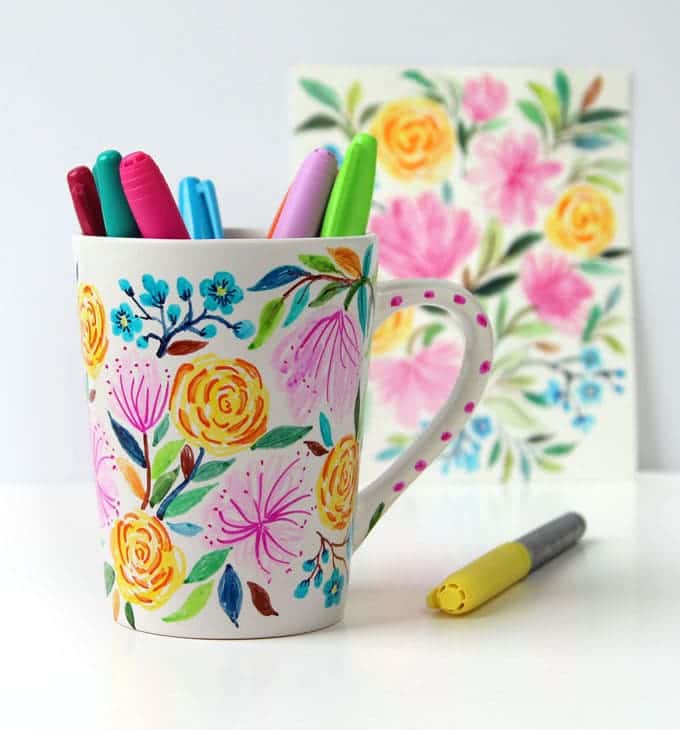
Recently while I was painting some watercolor flowers, I kept thinking how beautiful watercolors would look on ceramics. Inspired by the arrival of spring I decided to recreate a watercolor flower painting onto this DIY Sharpie mug!
I did not plan for this to be an Anthropologie knock off, but this Dollar Store mug somehow reminds me of those hand painted ceramic bowls, plates and mugs from Anthropologie that I love so much!

The other great thing about creating sharpie art on ceramics is that if you make a “mistake”, just scrub it off with a sponge before sealing and repeat as many times as you want. This is also a great Dollar store craft: use a Dollar Store mug or thrift store mug to practice without any pressure!

In this tutorial, I will share a detailed video and step by step photos on how to create watercolor style designs on a ceramic mug using regular sharpies without baking, and how to finish a DIY sharpie mug for different uses. ( UPDATE: it’s been over a year and the mug is still looking great!)
Here’s a watercolor flower painting I made, which I used as a guide for the DIY sharpie mug.

Of course you can create your own designs- Here’s a tutorial you may enjoy: paint watercolor flowers in 15 minutes!

Paint watercolor flowers in 15 minutes!
Materials and tools to make a no-bake DIY Sharpie mug:
( Some of the helpful resources are affiliate links. Full disclosure here. )
- Permanent markers: I used Sharpie assorted color makers ( no need to use oil-based kind) , and Bic Fine Point Makers 36 color pack . They work equally well. You don’t need both, just pick a pack that has lots of nice colors!
- A white ceramic mug or anything you want to draw on
- Gloss finish Mod Podge or any kind of clear sealer for ceramics. A foam brush is great because it does not leave brush marks. More about applying finishes at the end.
Below is the video tutorial –
Step 1: Start with some flowers
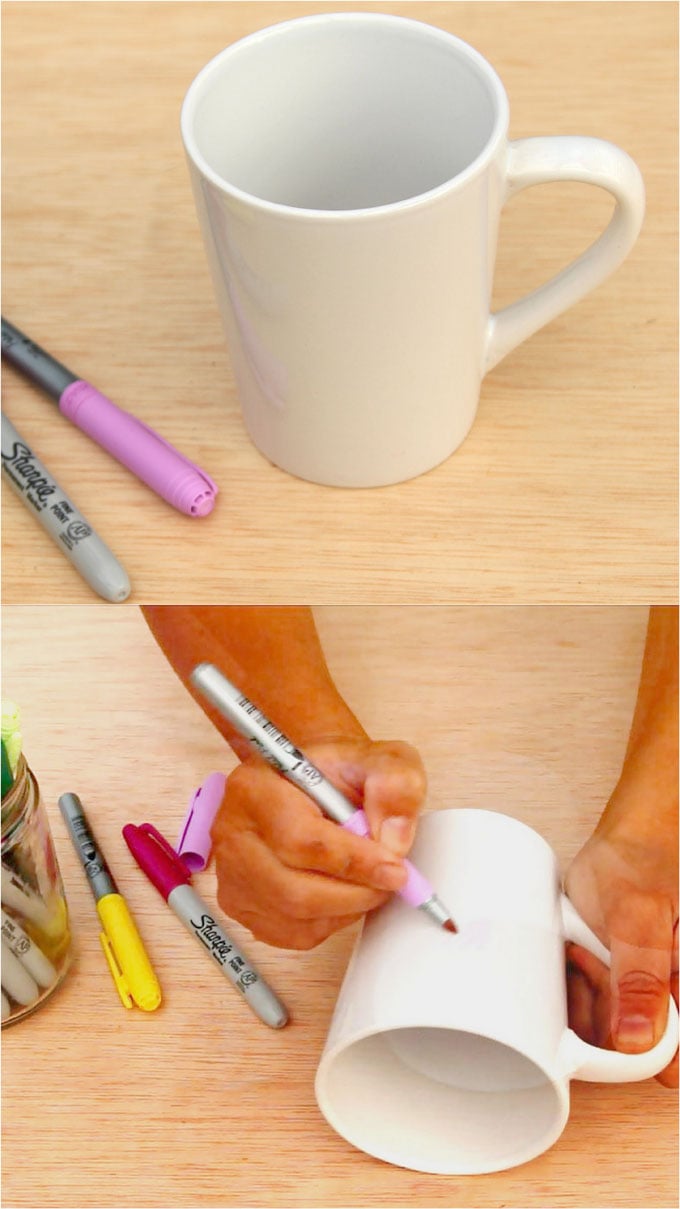
Use light shades of pink and yellow, fill in the basic shapes of a few flowers to start.
Step 2: Add layers of details to your DIY sharpie mug

Add interesting details such as stamens, petals, etc using darker colors. The layers of colors create a watercolor style look.
Step 3: Add fillers and leaves to decorate the DIY Sharpie mug
You can mix sharpie colors to get a yellow green or a blue green.

In nature, there are so many different greens – blue greens, yellow greens, brownish greens… Have fun playing with different color leaves from greens to browns as you complete the painting!

Tiny flowers are great as fillers. They add more interests and scales to a design.
Step 4: DIY sharpie mug finishing options
Most important thing to remember: don’t bake your sharpie mugs!
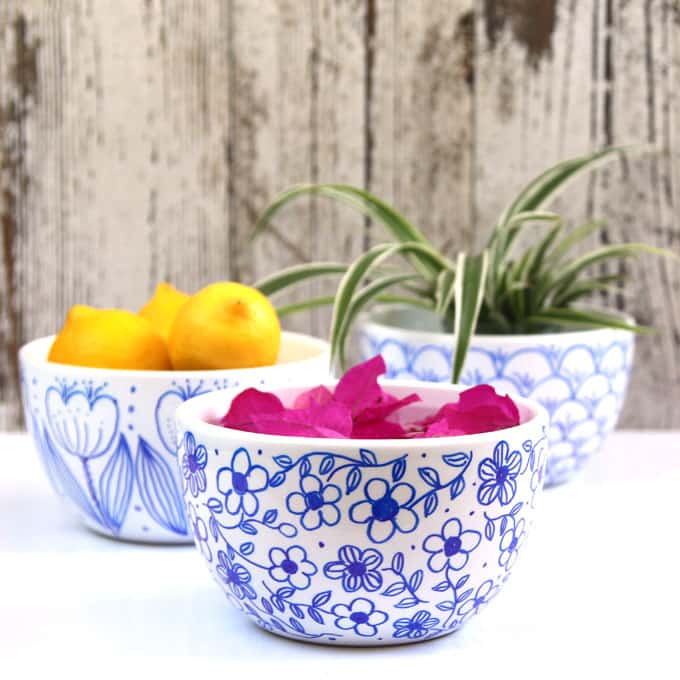
In this earlier tutorial- DIY No Bake Sharpie Bowls, I explained in detail why you should NOT bake your sharpie creations. The main reason is that Sharpies or many other kinds of permanent markers are not designed to be baked. They lose their colors and will not be embedded into the ceramic glaze.
If you want to drink from the mug, keep the Sharpie art and sealer 1″to 2″ below the rim of the mug. If it is going to be for decorative uses such as a pen holder or a vase, then feel free to cover the piece with your art!

Take a foam brush and brush a thin coat of Gloss finish Mod Podge or any kind of clear sealer for ceramics on your sharpie mug.
I have used Martha Stewart Decoupage Formula which is a non-toxic sealer, dishwasher safe after 28 days of curing. The Mod Podge Dishwasher Safe Sealer works the same. The key is to quickly and gently put the first thin coat on the Sharpie mug, and do not go over an area back and forth with pressure. This will cause the designs to bleed.

After the first coat dries, you can add 1-2 coats without the danger of smudging. The Gloss finish Mod Podge is the most forgiving of the three when it comes to smudging.
The best way to clean your Sharpie mug or other ceramics is to gently wash them with a soft sponge and dish soap. Keep them out of direct sun. They will stay gorgeous for a long time!
Another great way to use art in home decor is to transfer images onto wood using this simple method.

DIY wall art and how to transfer images onto wood

Happy creating! =)
Source: apieceofrainbow.com
