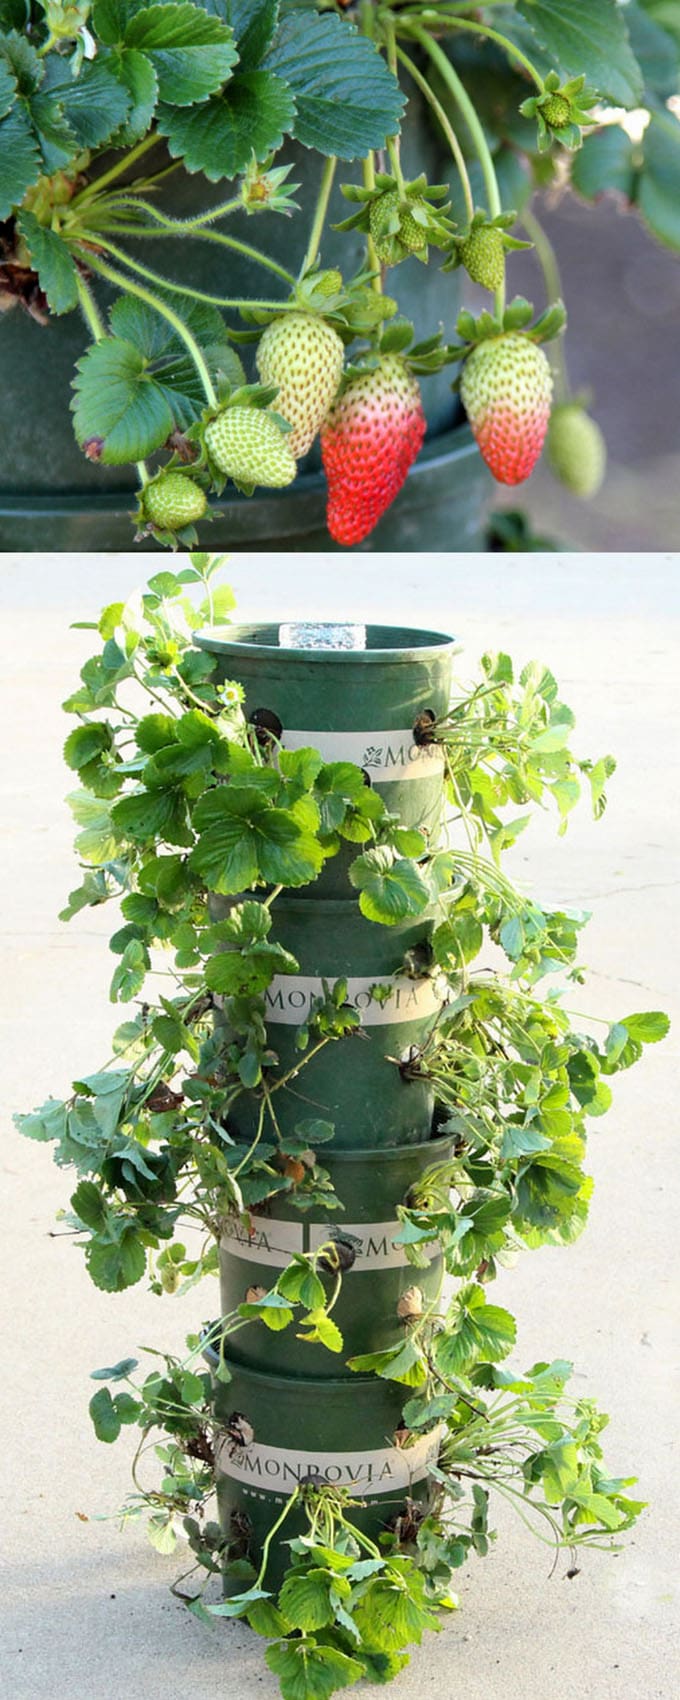
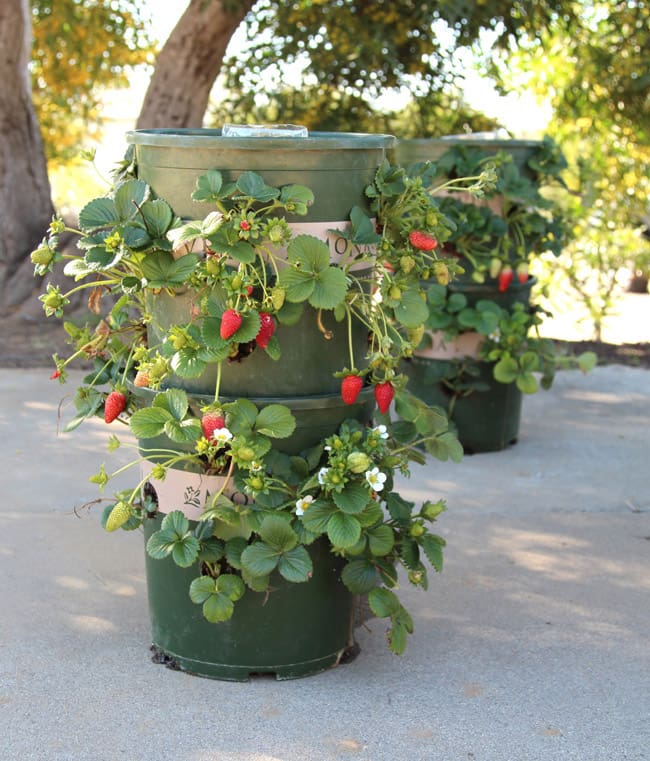
I simply can’t wait for all the berries to turn red to share this with you – an easy DIY strawberry tower with a built-in reservoir! Bonus: everyone can make this strawberry planter with recycled materials and grow strawberries in small spaces like a patio or balcony!
A strawberry tower is a super space saving vertical strawberry planter, that is perfect for small space gardens.
Last year we came up with this idea of a DIY strawberry tower LOADED with berries, made one, and it FAILED! Failures = Great Learning, right? =)
This year we made some big improvements on our towering strawberry planter. It worked so well that we already got strawberries, in February!
I am going to share with you everything we have learned so that you can build a strawberry tower with success, and a big harvest…

Materials and tools to make a DIY strawberry tower:
( Some of the helpful resources are affiliate links. Full disclosure here. )
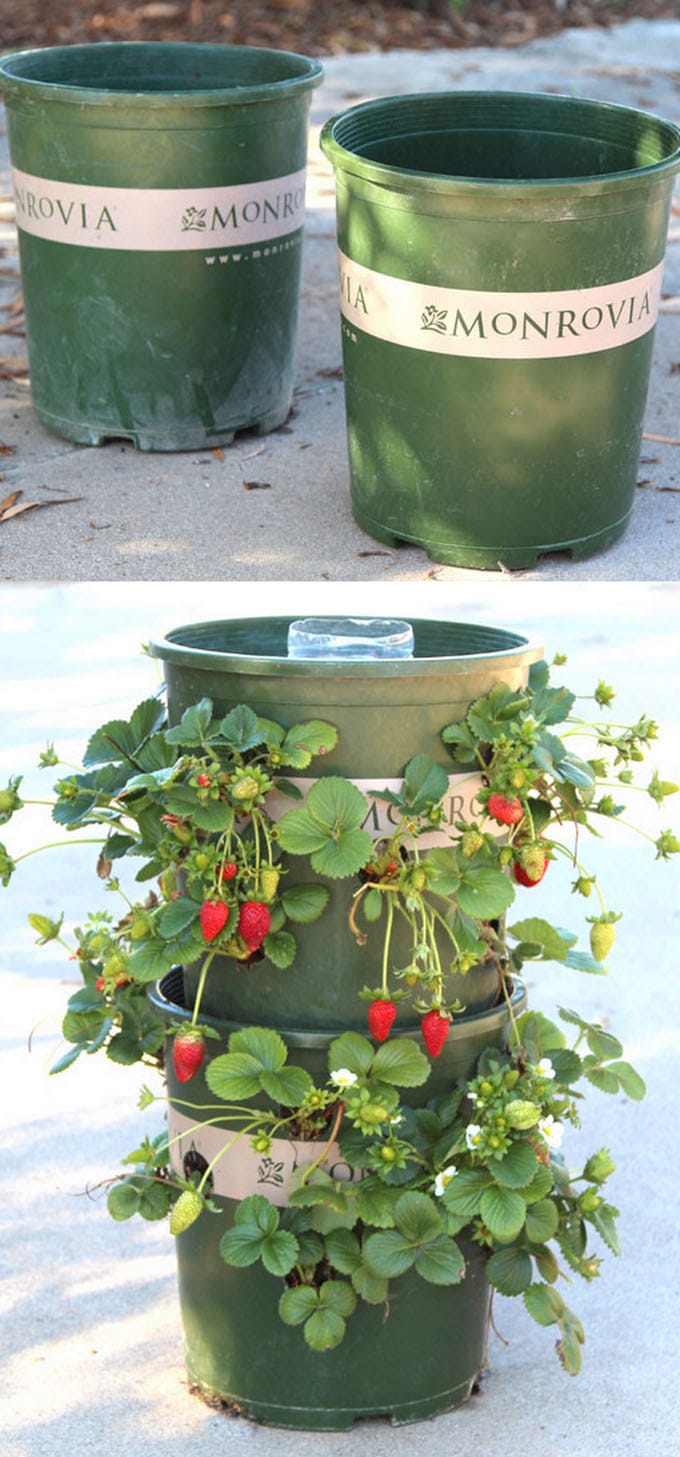
- 5 gallon plastic nursery pots: they measure about 11″ diameter by 13″h. Find sturdy ones with drain holes on the bottom. If the drain holes are on the side, punch a few holes on the bottom. Buckets will work too!
- a Milwaukee 1.25″ Hole Saw and a drill
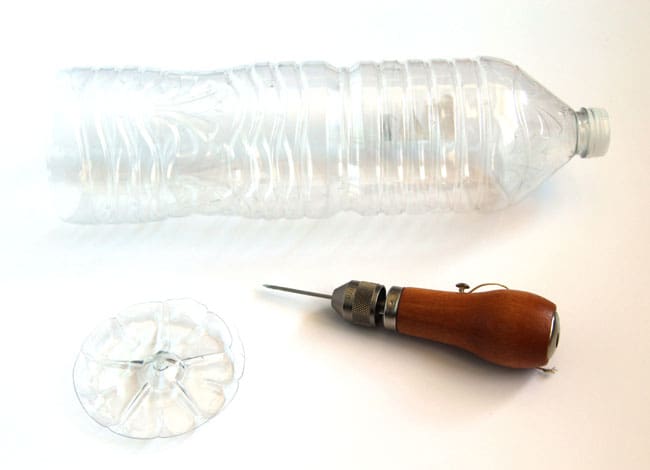
- 1 liter plastic water bottle, and a sharp tool to punch holes. Only the top pot in the strawberry planter needs a reservoir. The bottle should be about the same height as the pot.
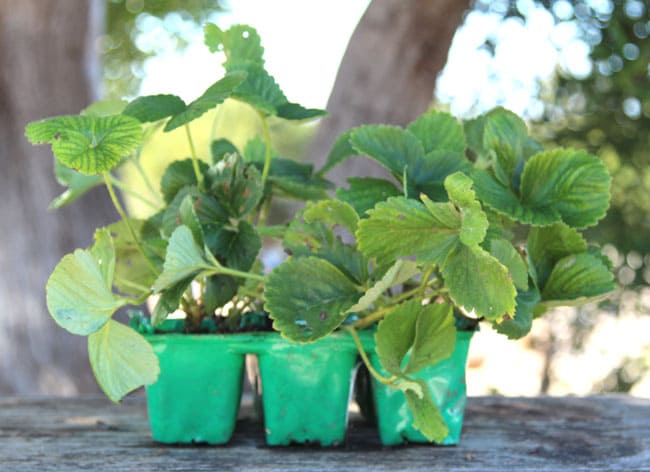
- good potting soil, we added 1/3 of worm castings and compost. And strawberry seedlings.


Step 1: cut holes on the strawberry planter
Draw 12 equally spaced holes on the side of each pot like shown in the photo above, and drill the holes with the Milwaukee 1.25″ Hole Saw attached to a drill.

Step 2: add reservoir to the strawberry planter
Prepare the reservoir by cutting of the bottom off the water bottle, and poke some holes on the cap and on the sides all the way to the top. Leave the cap screwed on tightly. This will allow the water to seep through all the holes slowly. The design is inspired by the ingenious use of ollas in irrigation.


Place our reservoir in the center of a pot, again, only the top pot in a stacked strawberry tower needs a reservoir.
Step 3: add soil and strawberry seedlings to the DIY strawberry tower
Do it slowly, starting with soil and plants at the bottom. When reaching the top pf the strawberry planter, add a layer of rocks or pebbles at the top of the pot to hold the soil in when we water. (One of the reasons we failed to grow great strawberries last year was because soil were washed away! More on that at the end.)
Repeat with the lower pots, leaving out the bottle reservoir and the rocks. Now we can stack our strawberry tower together!

We wanted to be able to move the strawberry tower in the garden, so we did not have a center pole through the pots for stability. We ended up dividing this tall tower into 2 shorter ones. Still super space saving- 48 plants in less than 2 square feet!
For the first week, leave the strawberry tower in dappled shade and water a lot, so the plants can recover from transplant shock. (Something I forgot to do!)
Water with compost tea every few weeks will keep the plants happy. We built this about 1.5 months ago, and now it’s fruiting profusely!


Here are a few tips and lessons we learned from last year’s failed DIY strawberry tower ( see above photo )
- We did not use a reservoir, nor rocks on top of the strawberry planter, so the soil would get dry quickly, and when we water, the soil was washing away instead of soaking up the water. Add a reservoir and rocks on top has made all the difference.
- The cut holes should be no larger than 1.25″. Otherwise, soil will fall out when watering.
- Rotate the pots every 1-2 weeks so all the plants can get some sun.
- This strawberry planter is a very compact system to grow strawberries, which are heavy feeders. Fill the reservoir with diluted fish emulsion(if you don’t mind the smell), compost tea or worm tea every 1-2 weeks to give the plants some extra nutrients.
- If one of the seedlings don’t make it, wait till the others send out runners, then tuck the runners into those empty spots. They will root very easily.

Happy gardening! And feel free to share ideas for improvements in the comment section!
A few similar posts in case you missed them: How to start seeds in 1/3 time with 300% more success- 
Make a seed box from 2 shoe boxes! 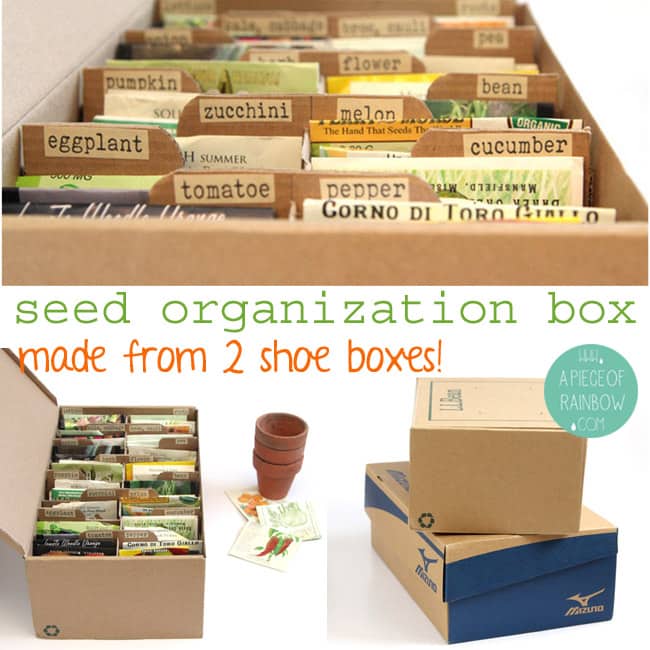
And a simple trick to help your seedlings establish quickly in the garden- 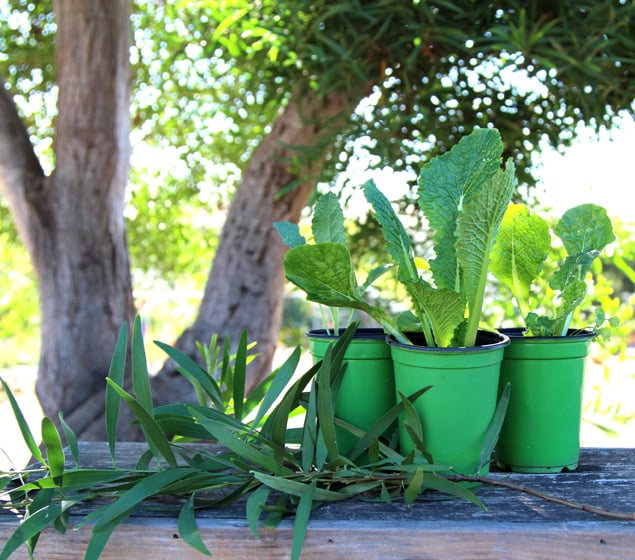
Happy growing!
Source: apieceofrainbow.com
