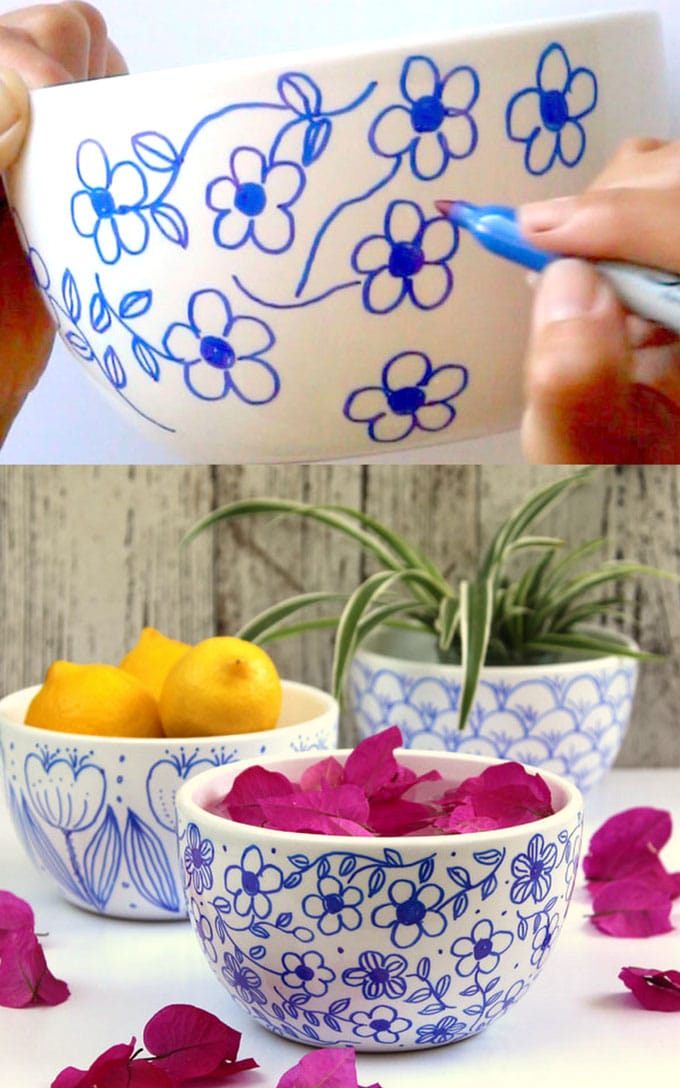
Today’s DIY Sharpie art bowls are kind of instant gratifications for you and me. We are going to pretend that we are ceramic artists, and create our own hand painted designs with… a blue Sharpie marker!
Are you in love with hand painted ceramics as much as I do? And secretly wish you have a whole shelf of glazes and ceramic paints and a kiln? I know how that feels! 😉 Let’s make our own designs with some sharpie art!
There are three video tutorials to walk you step by step to create each of the three Sharpie art bowls.
Have you seen how many Sharpie mugs on Pinterest that suggest you to bake them at 250 to 450F degrees? Please don’t do it!!
I will share at the end why you should NOT bake your DIY Sharpie art bowls or mugs, etc, and what to do instead.
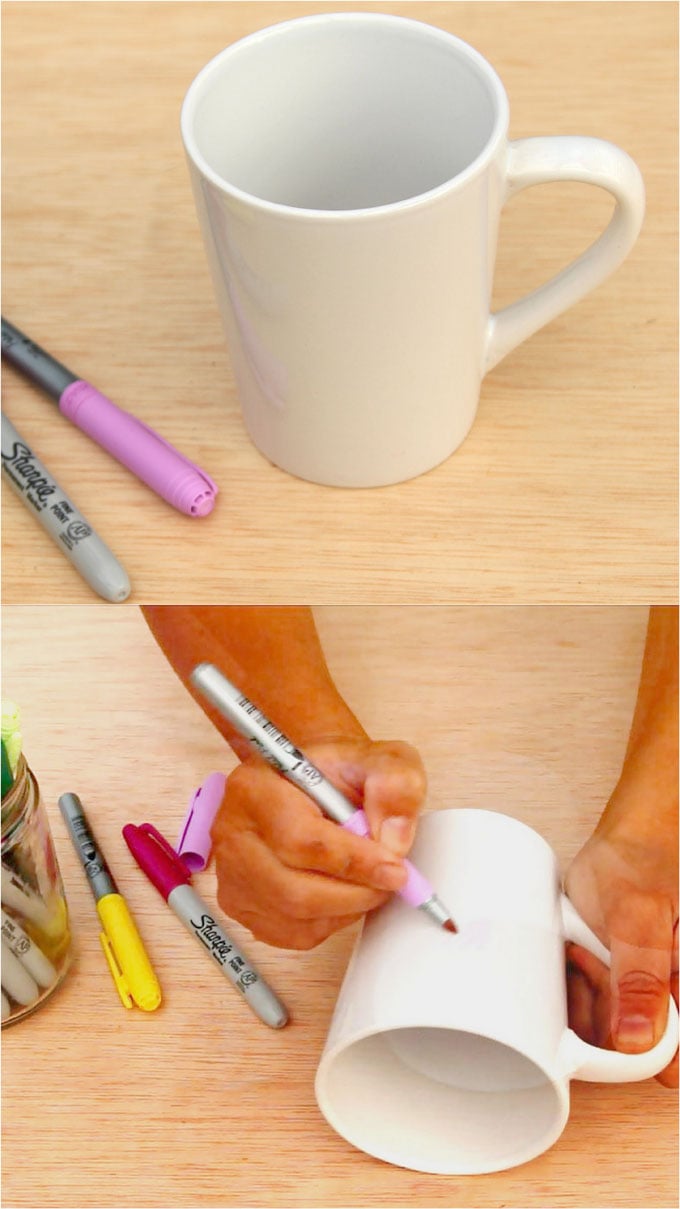
Materials and tools for DIY Sharpie art bowls:
( Some of the helpful resources are affiliate links. Full disclosure here. )
- Sharpie or other brands fine point permanent markers . Use the regular, NOT the oil-based markers. Some readers told me oil based markers may rub off when applying mod podge!
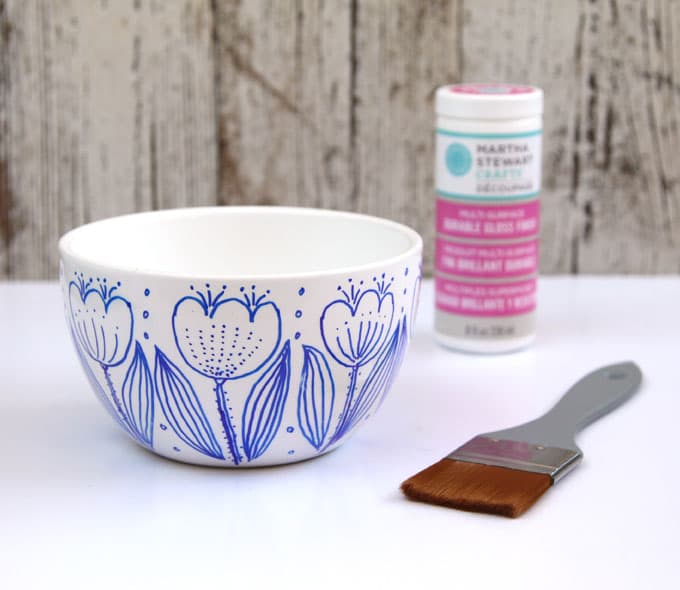
- a foam brush , Gloss finish Mod Podge . You can also use Martha Stewart Decoupage Formula or the Mod Podge Dishwasher Safe Sealer: a non-toxic sealer, dishwasher safe after 28 days of curing. Comparison of these at the end.
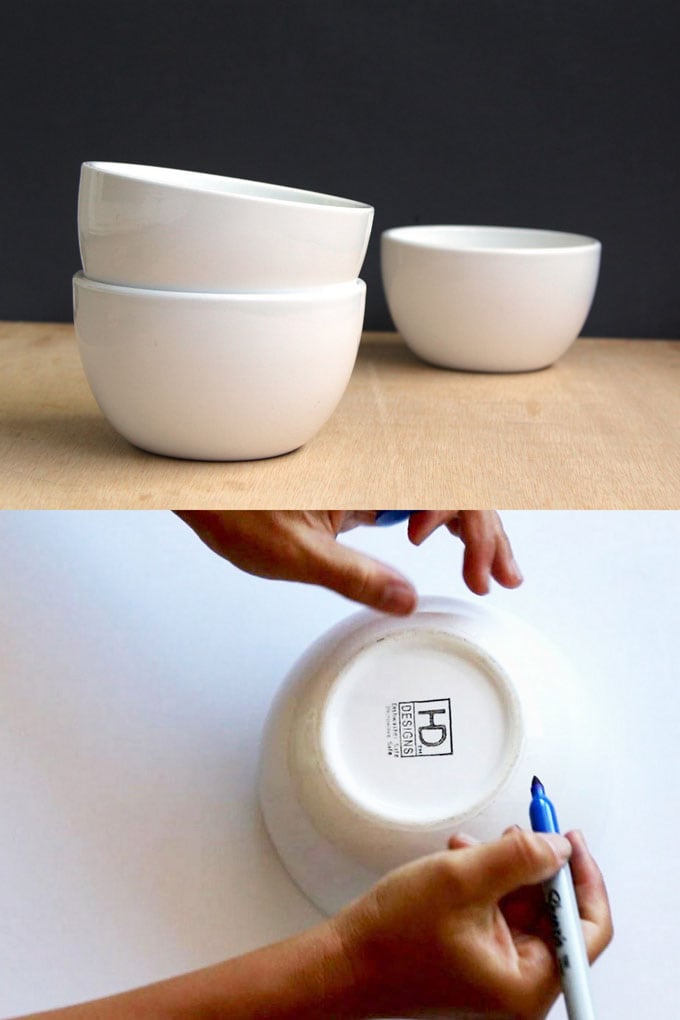
- white ceramic bowls, mugs, anything
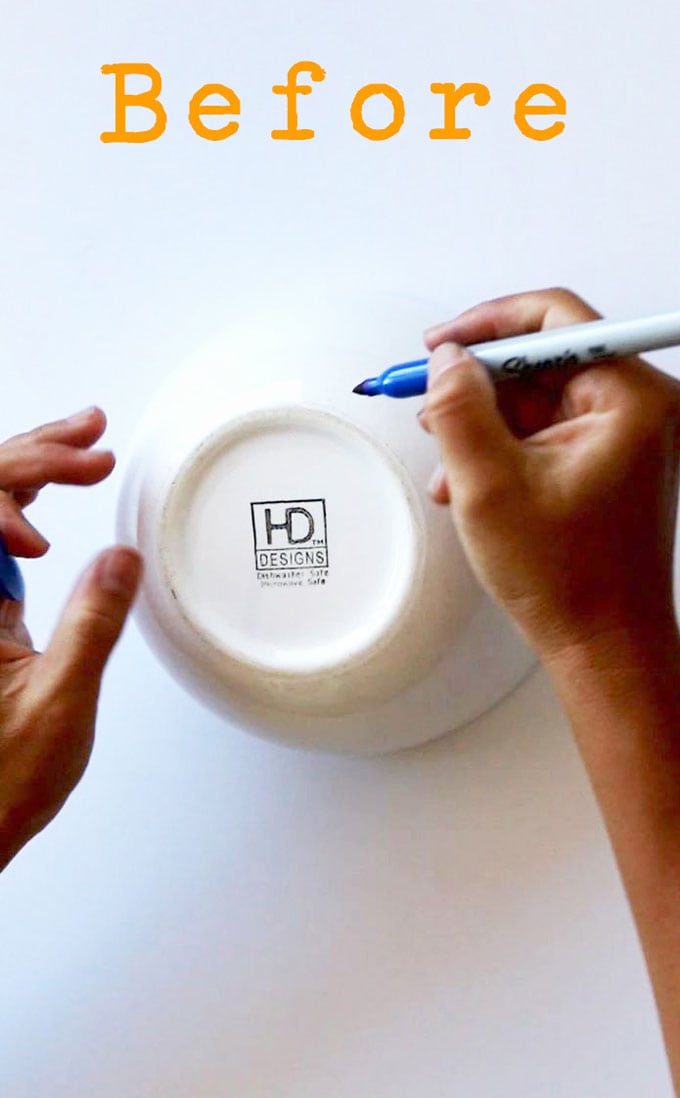
Although the sealer and Sharpie makers are non-toxic, if you intend to drink or eat out of these bowls or mugs, please follow this guideline from Sharpies website:”While Sharpie markers are AP-certified non-toxic, we do not recommend using them on areas of items that may come in contact with food or the mouth, such as the rim of a coffee cup.”
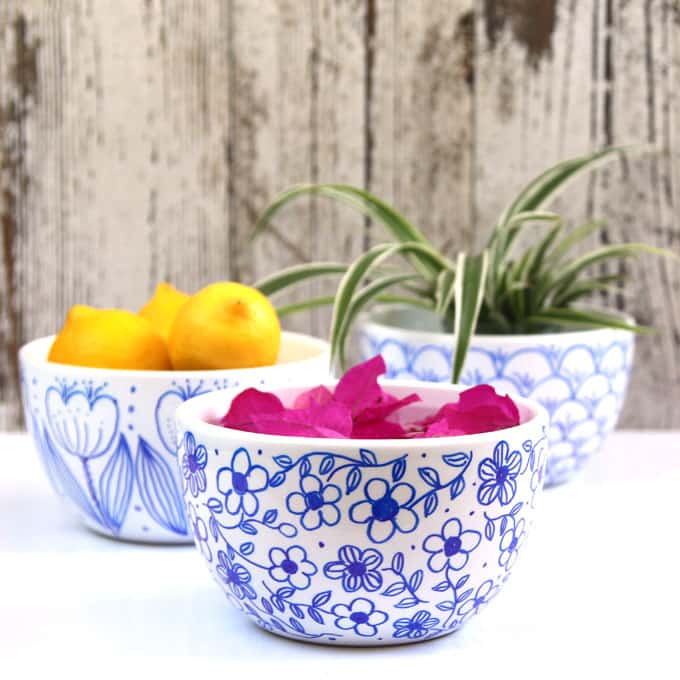
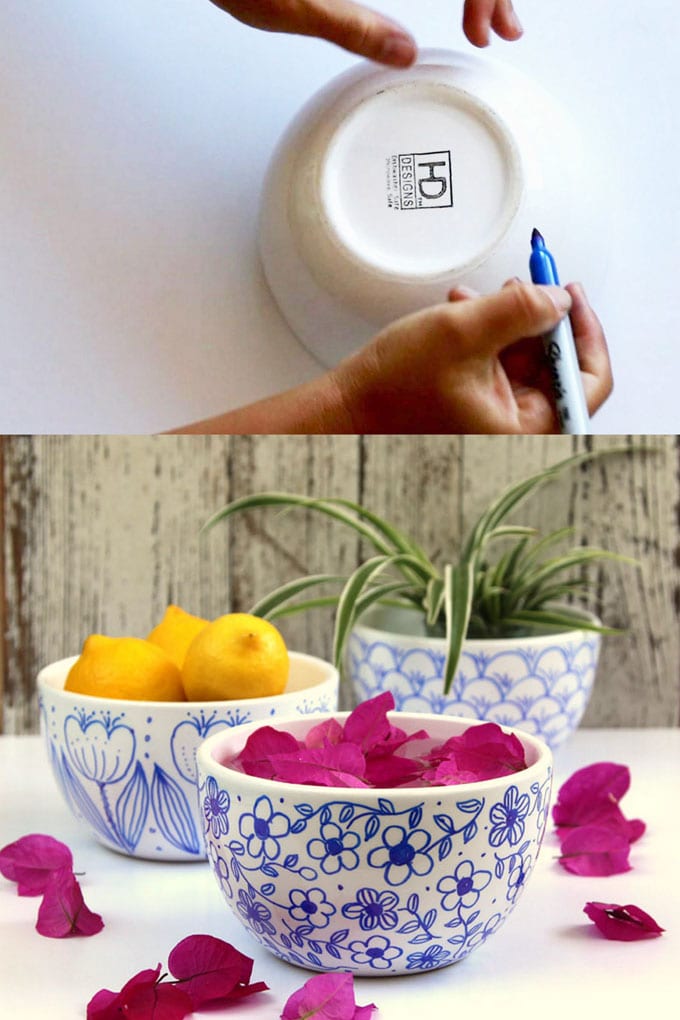
I am using these DIY sharpie art bowls for things such as candies, fruits and botanicals, such as our lovely indoor plants that are grown in water, see this tutorial for more details!

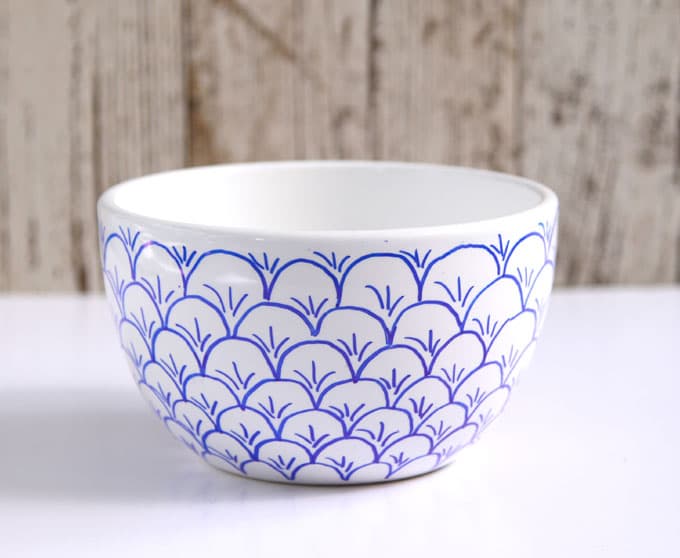
Let’s start with the easiest DIY Sharpie art bowls of the three designs!
It’s a fish-scale pattern that you see in a lot of traditional designs from many parts of the world.
Start at the bottom, keep drawing rows of the fish-scale until you reach the top rim.
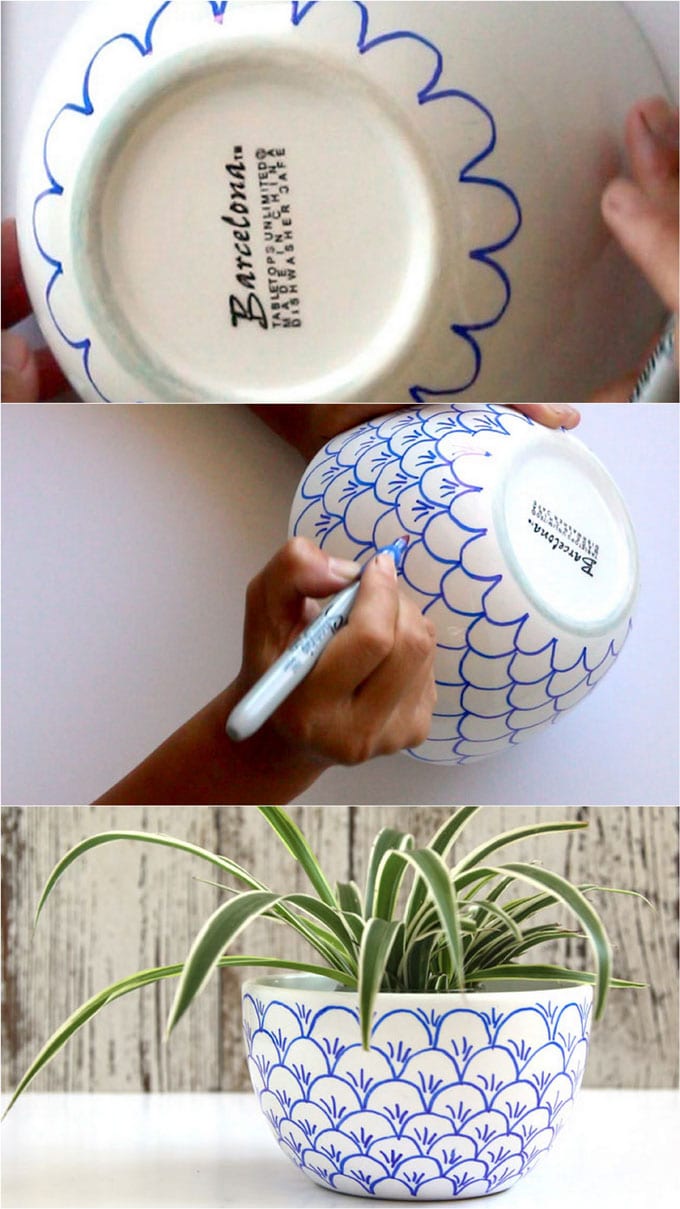
Add decorative details on each piece of the “scales”.
Simple repetitions can create such pretty patterns, and it is so relaxing to doodle away.
Below is the video, let’s doodle together! ( It also shows what to do if you “mess up”.)
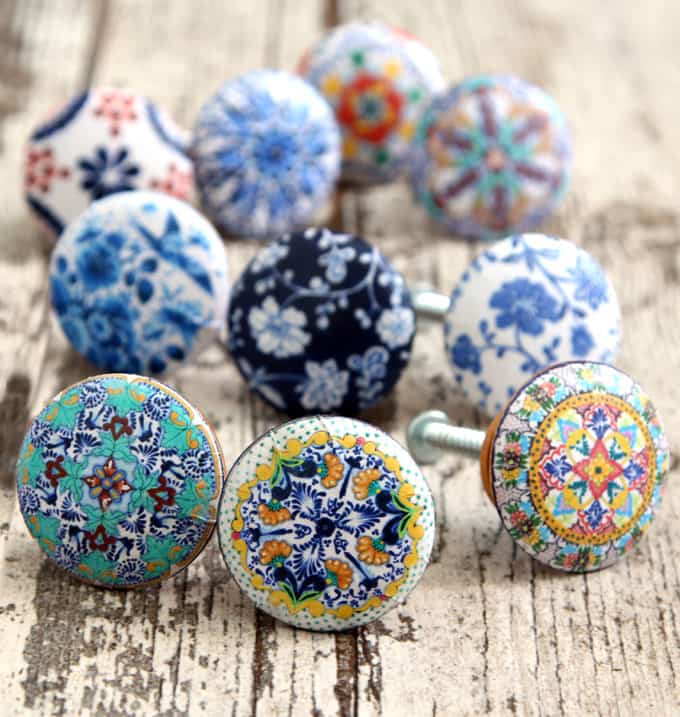
Related DIY: Make these 5 minute designer knobs!
See how easy the first of these sharpie art bowls are to make?
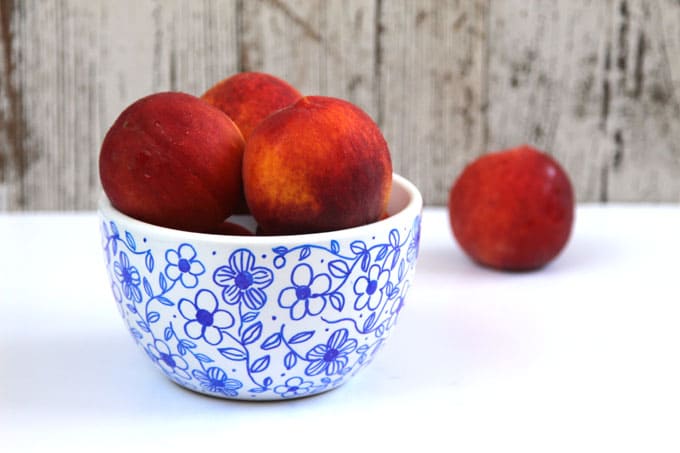
2. DIY Sharpie art bowls with tulip flower designs.

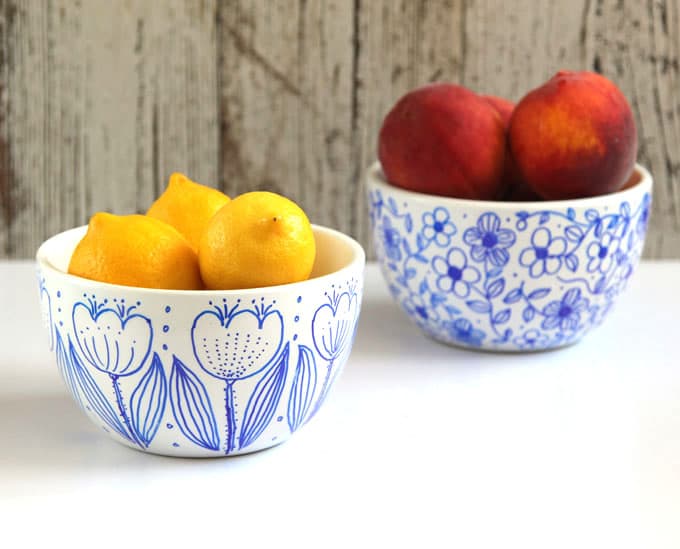
Start by placing the eight stems evenly around the bowl.
Draw the tulip flowers and leaves. Add details with simple lines and dots. Dots are fun, aren’t they?

Below is the video tutorial –
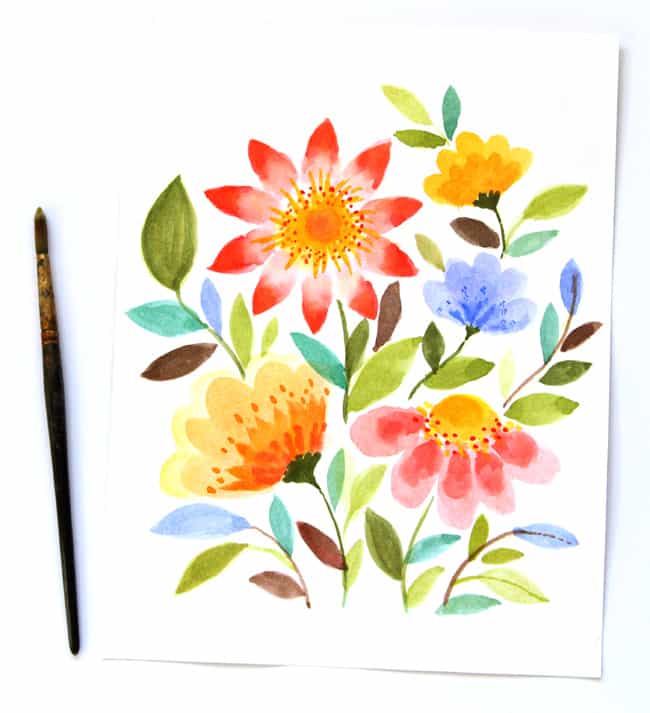
Related: Paint watercolor flowers in 15 minutes!
3. DIY Sharpie Art Bowls with a toss pattern!
This design is a “toss pattern”, like how a huge bouquet of flowers are tossed in the air and land randomly to create a natural looking pattern.
The key here is to make everything look natural. Try to vary the directions of the stems and fill the entire surface with flowers and leaves.
This one is a tiny bit more challenging than the first two bowls. Just remember: it is easy to wipe out the “mistakes”!
Below is the video tutorial –
Let these bowls dry for 1-2 days.Take a foam brush and brush a thin coat of Gloss finish Mod Podge or any kind of clear sealer for ceramics.
I have used Martha Stewart Decoupage Formula which is a non-toxic sealer, dishwasher safe after 28 days of curing. The Mod Podge Dishwasher Safe Sealer works the same.
The key is to quickly and gently put the first thin coat on, and do not go over an area back and forth with pressure. This will cause the designs to bleed. After the first coat dries, you can add 1-2 coats without the danger of smudging. The Gloss finish Mod Podge is the most forgiving of the three when it comes to smudging.
- Sharpie markers, both oil based and regular, are NOT designed to be baked. If they were, I am sure we would find some mentions on their official website. Many of the colors change to yucky tones when baked at over 300 degrees! There are ceramic paints that are formulated to be baked and the colors come out vibrant and true.
- Baking does not incorporate Sharpie colors into the glaze. Sharpie designs come off with hard scrubbing no matter we bake it or not. Ceramic glazes are fired at much higher temperatures than our home ovens can reach. Think about it: any chance your pies and casseroles have incorporated ceramic glaze in them?
- Because of reasons 1 and 2, baking your Sharpie creations is a waste of electricity, or any type of fuel.

The best way to clean your Sharpie ceramics is to gently wash them with a soft sponge and dish soap. They will stay gorgeous for a long time!
You may also love: Anthropologie style watercolor flower DIY sharpie mugs!
Anthropologie style watercolor flower DIY sharpie mugs!
Happy creating! =)
Source: apieceofrainbow.com
