Comparison of 4 common techniques for drying herbs.
You can dry herbs indoors or outdoors. No matter which method you use, the two most important keys for success are: low humidity and no direct sun exposure.

Technique 1: Drying herbs in the oven.
Technique 2: Drying herbs in the microwave.
To be honest, this is my least favorite method. Pros: It is super easy, just microwave the herbs on high for 2 to 3 minutes.

Cons: The main reason I personally don’t use this method is that it is hard to say whether the herbs are “cooked” or “dried”. You know how when you microwave food, sometimes the food towards the outer edges get super cooked while the center part is still barely warm? I prefer natural low heat drying , which retains the most flavors and nutrients in herbs.
Technique 3: Drying herbs in the dehydrator.
Keep the food dehydrator temperature between 95 °F and 105 °F. Place the herbs in a single layer on the dehydrator trays. It can take from one to four hours to dry the herbs depending on the variety.
Pros: This method is what professionals use to dry large quantities of herbs. It is a very reliable way to produce high-quality dried herbs.
Cons: Need to buy a food dehydrator. It also uses more energy than air drying.
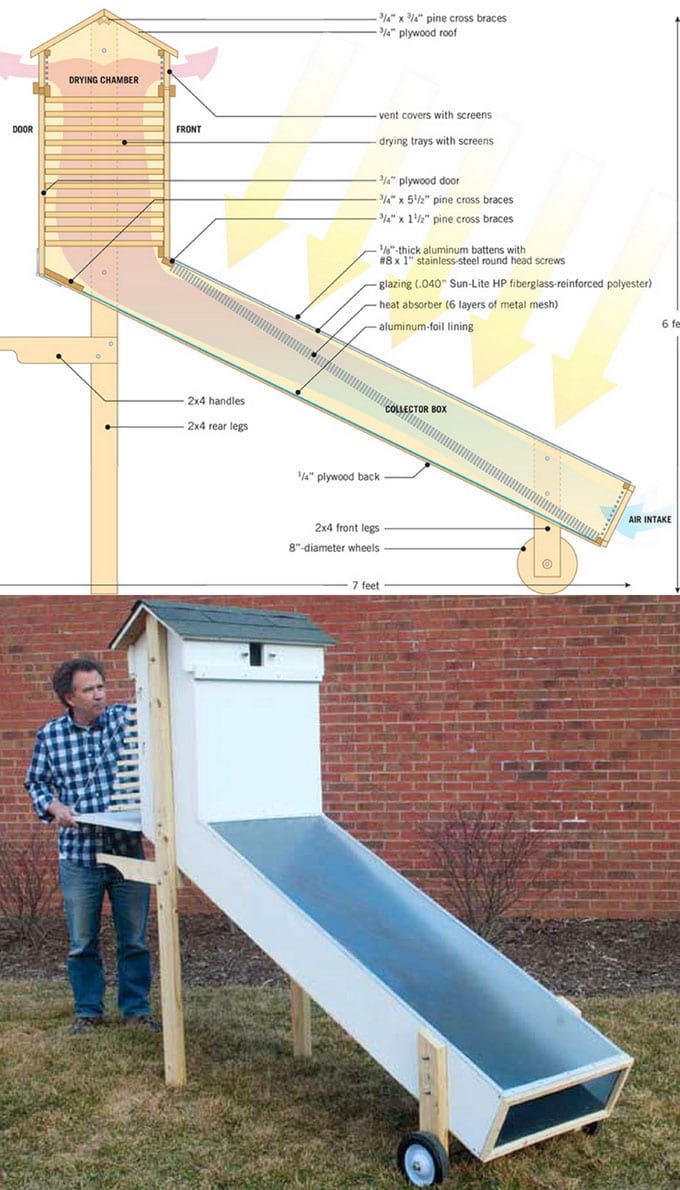
If you are into food preservation, and have room for a bigger food dehydrator, here‘s one of the best designed DIY solar food dehydrator building tutorials. Exposing fruits and vegetables to direct light can cause vitamin loss. This design uses solar-heated air without any electric fans to dry food. All the food ( and herbs) are kept out of direct sun.
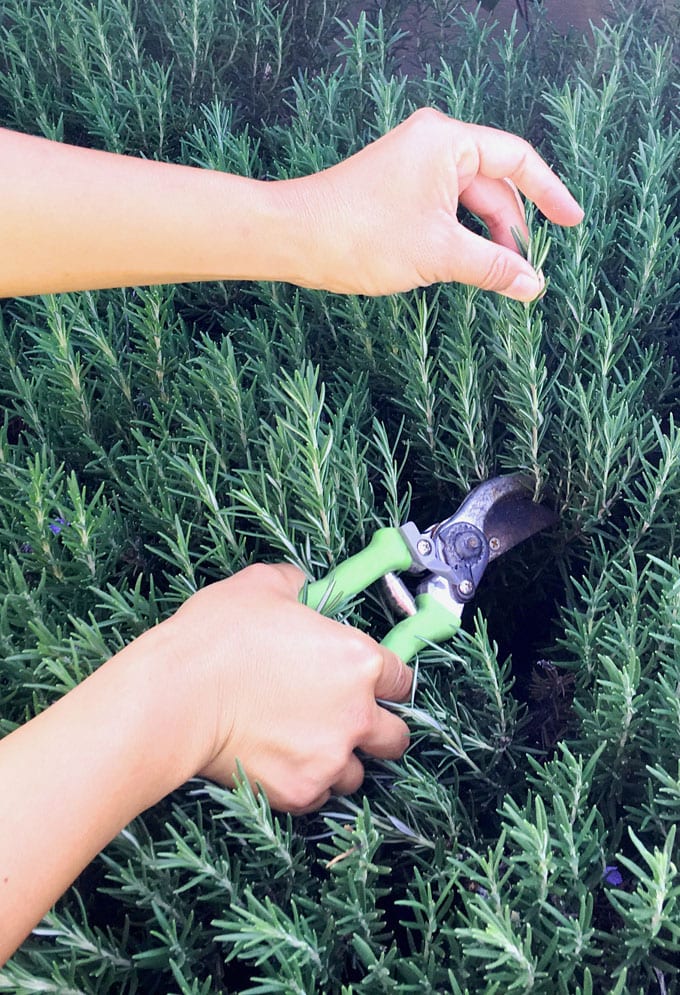
Technique 4: Air drying herbs ( my favorite!)
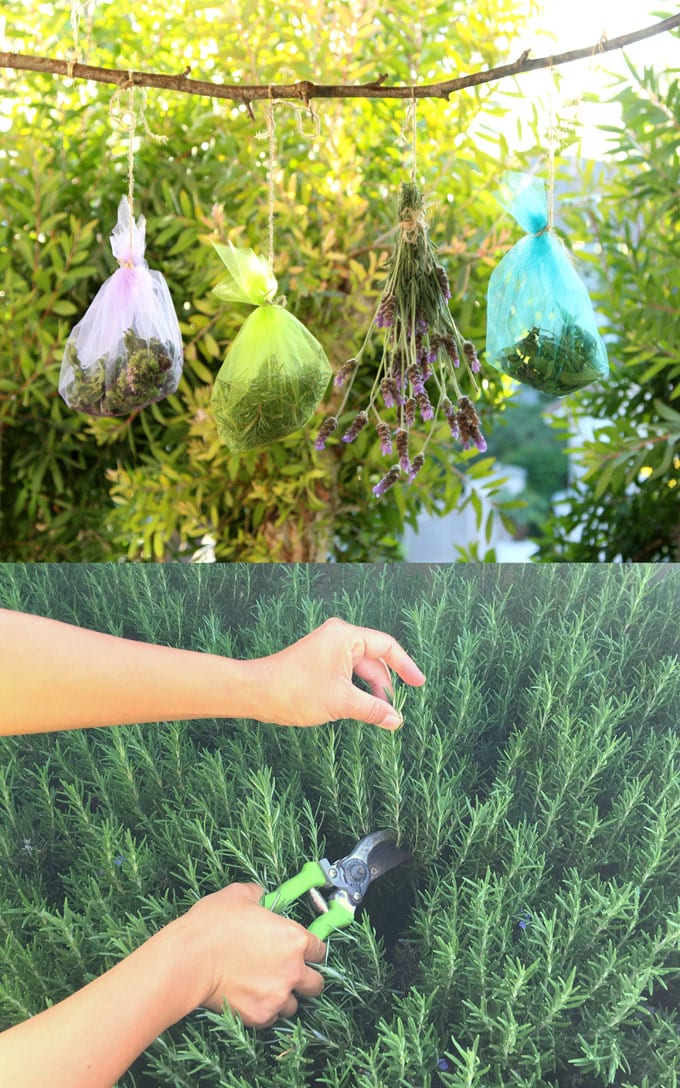
There are many variations of air drying methods. Always dry herbs out of direct sun to maximize the flavors and nutritional benefits. If it’s humid outdoors, you can dry herbs indoors in a room or even in a closet.
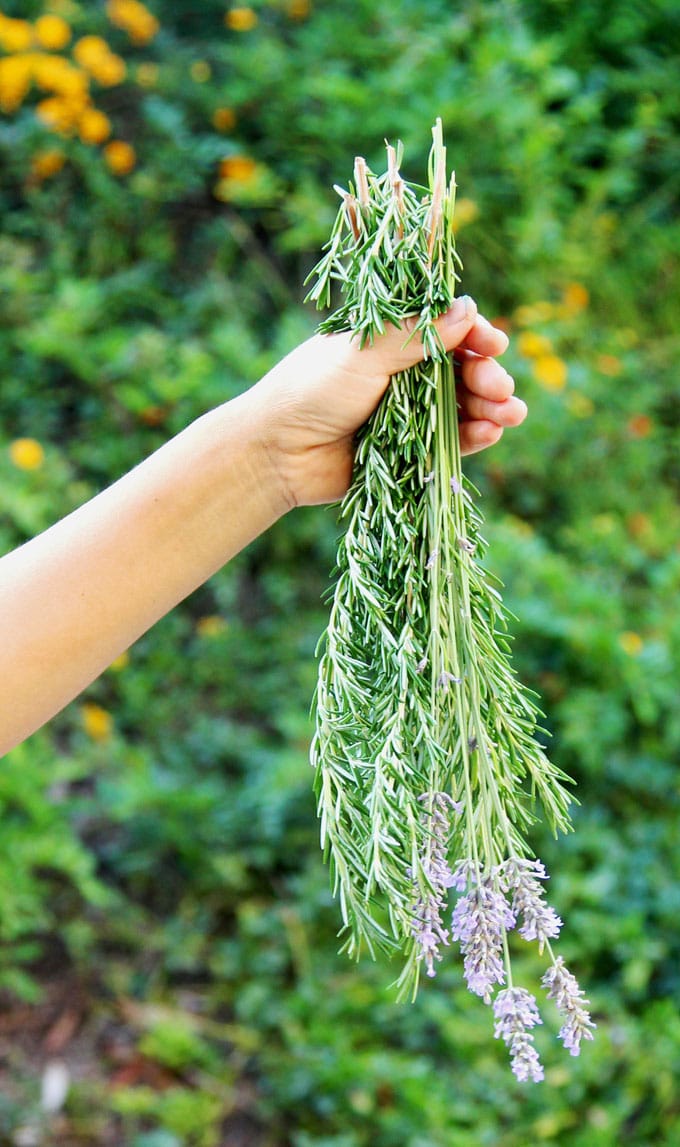
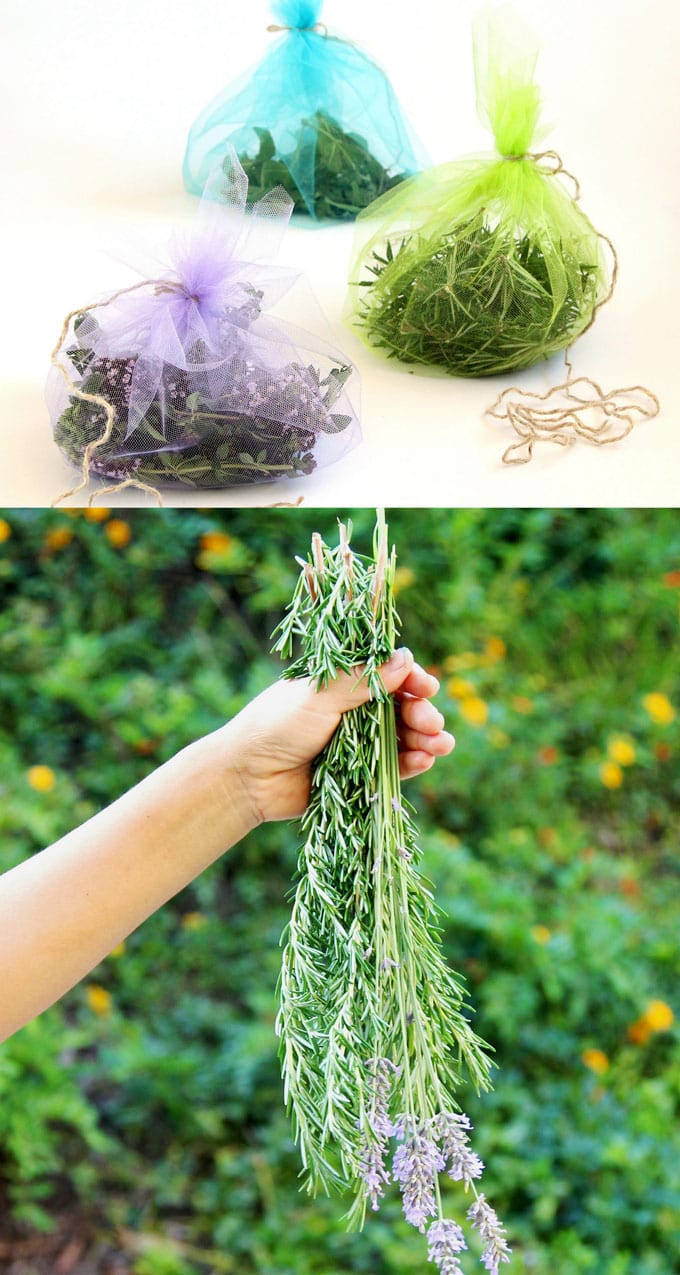
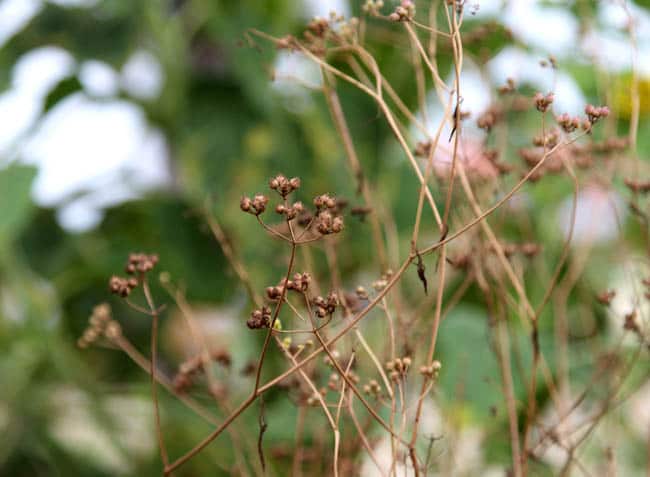
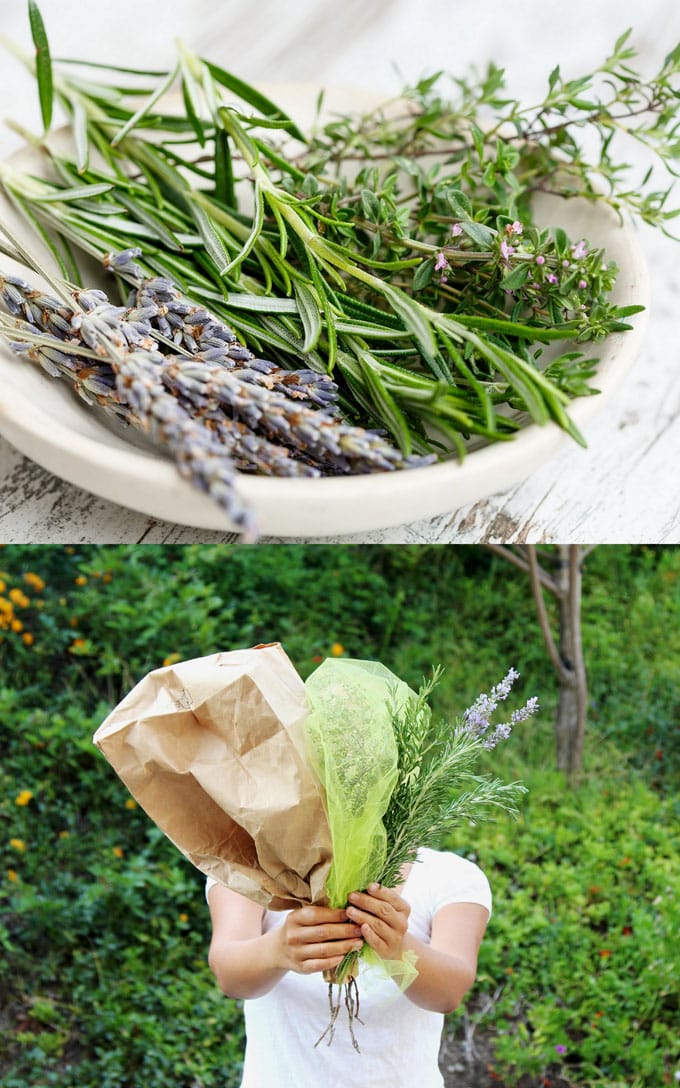
Herbs such as bay, rosemary, or lavender do not fall off easily when dried, you can simply hang the herb bundle upside down in a dark and not so humid place to dry.
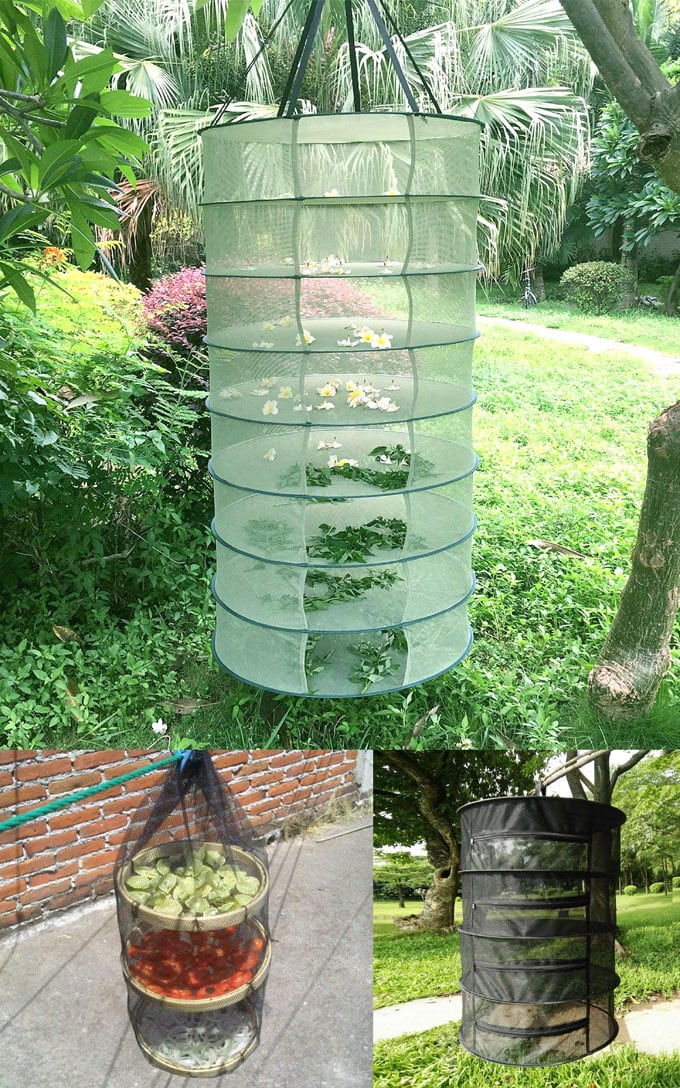
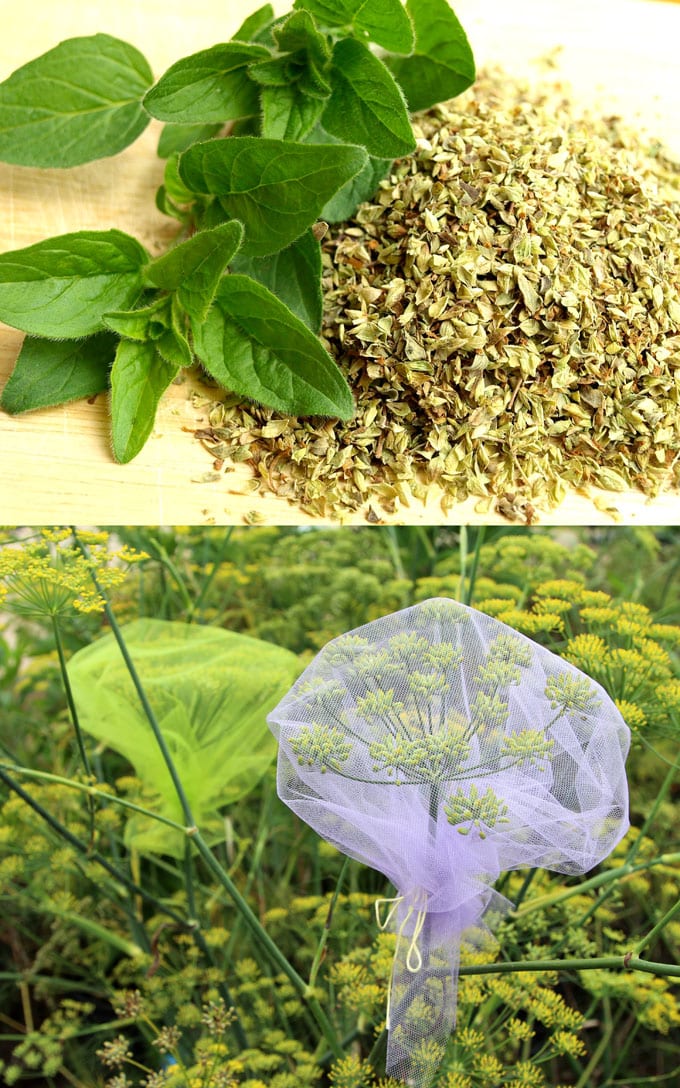
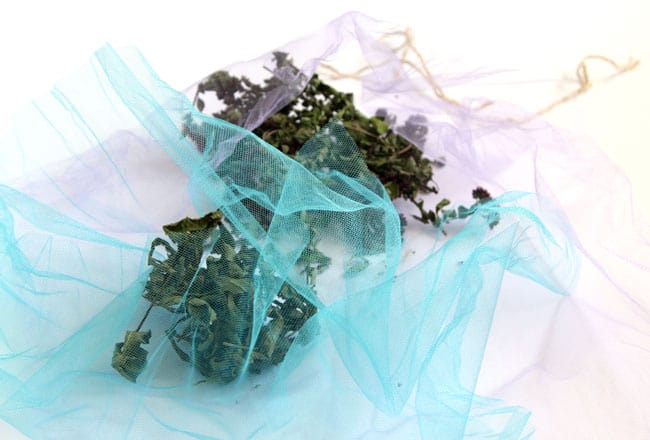
But many herbs and flowers, such as thyme, or leafy herbs like mint, basil, lemon verbena, etc, become very brittle when dried, and could easily end up all over the floor if they are simply tied in a bundle to dry.
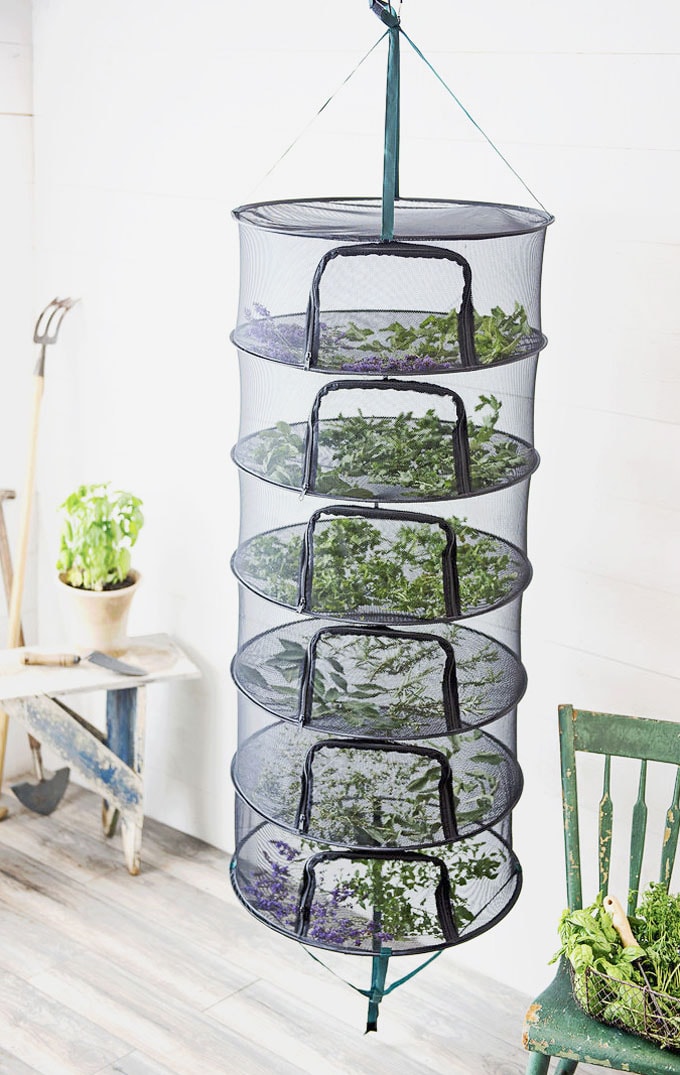
There are many wonderful herb drying rack you can get for under $20 on Amazon. You can also make a DIY version using embroidery hoops or hula hoops, and mesh fabric. ( Source: Herb drying racks 1 | 2 | 3 | DIY tutorial )
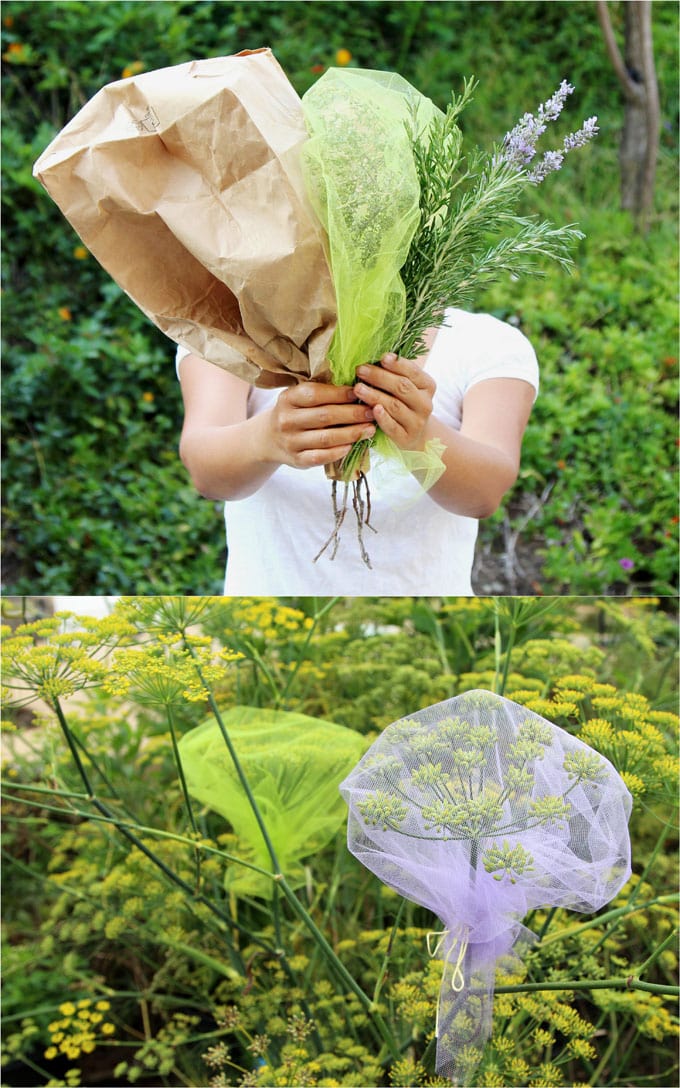
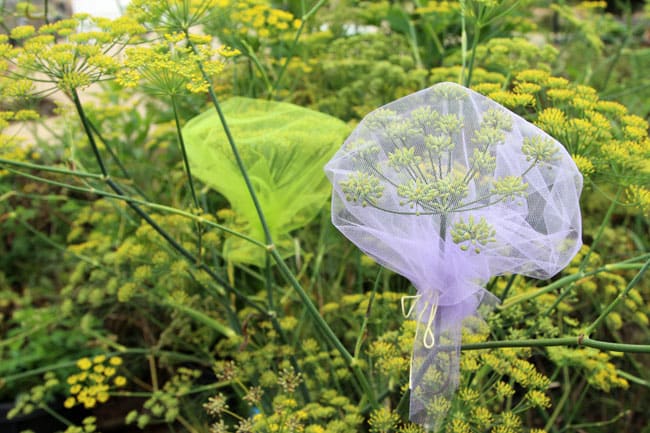
Now, are you ready for our simple and easy herb drying hacks for $1?
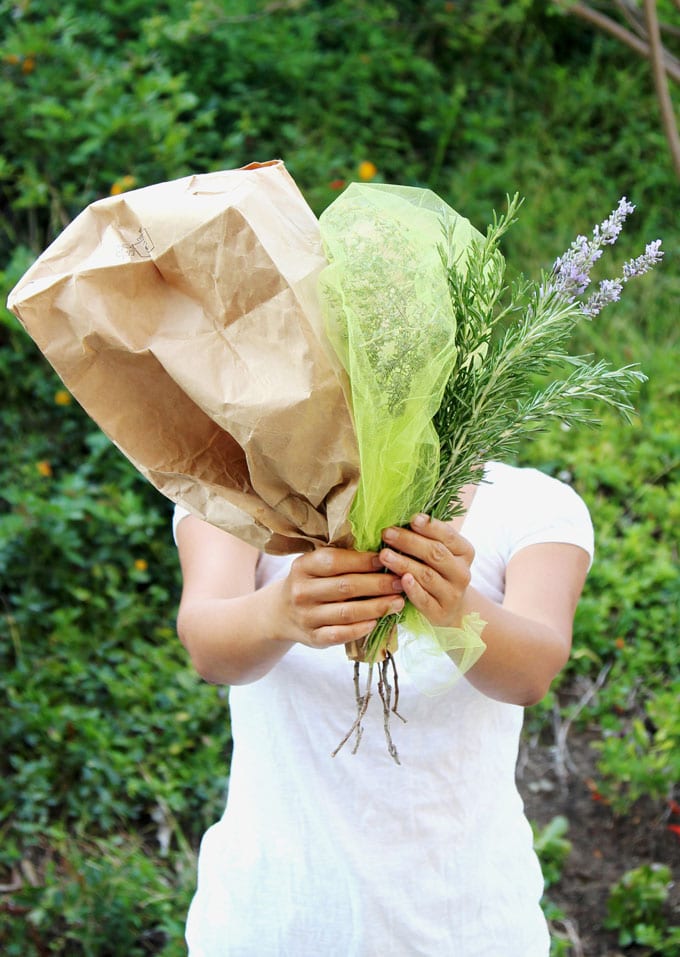
Use a paper bag, or our magical secret: ballerina tutu fabric, aka, nylon tulle. Both will work in very similar ways. The tulle fabric allows more air circulation, and lets you see the progress easily!

More ways to celebrate the garden abundance-
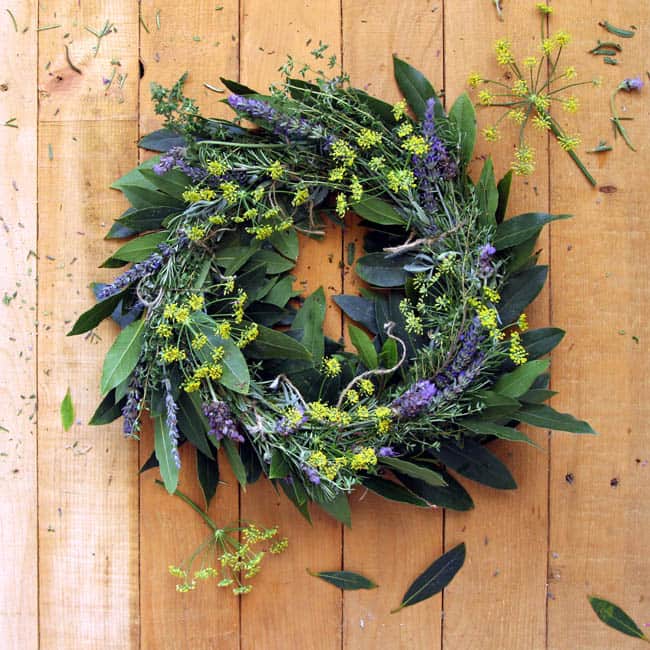
Make a gorgeous herb or flower wreath super fast- a dollar store hack!

Source: apieceofrainbow.com
